 Skip to content
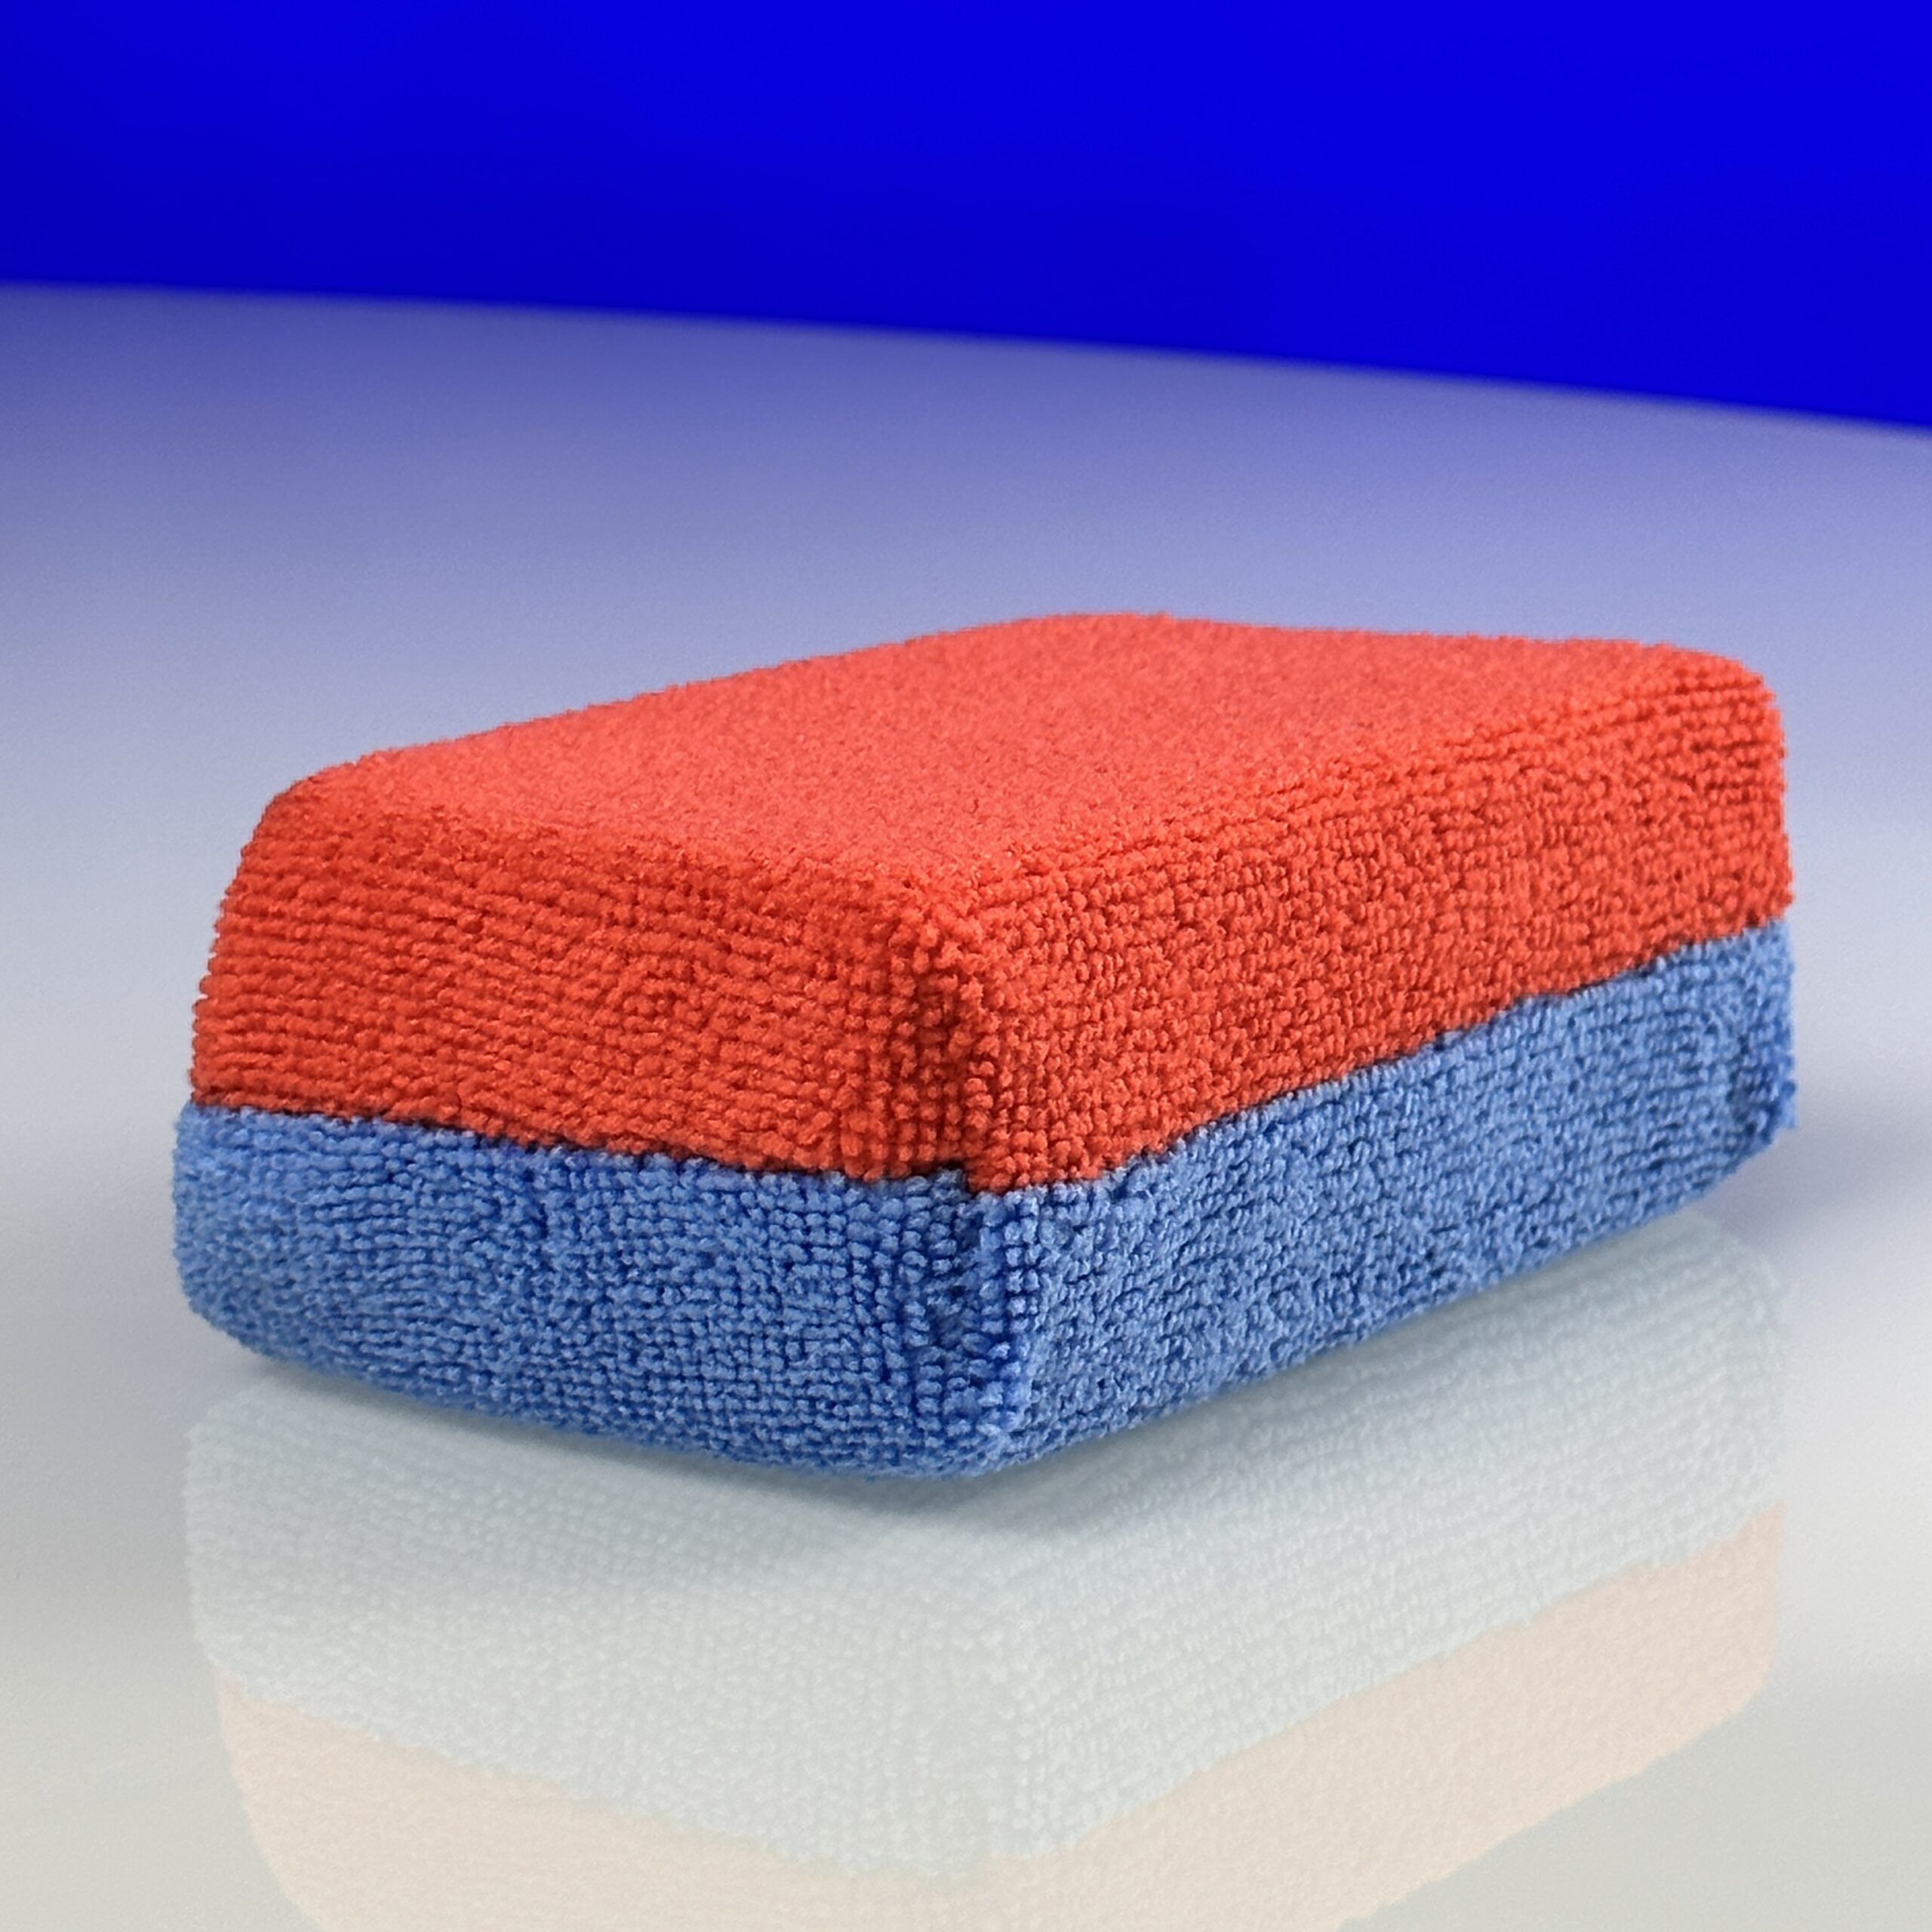
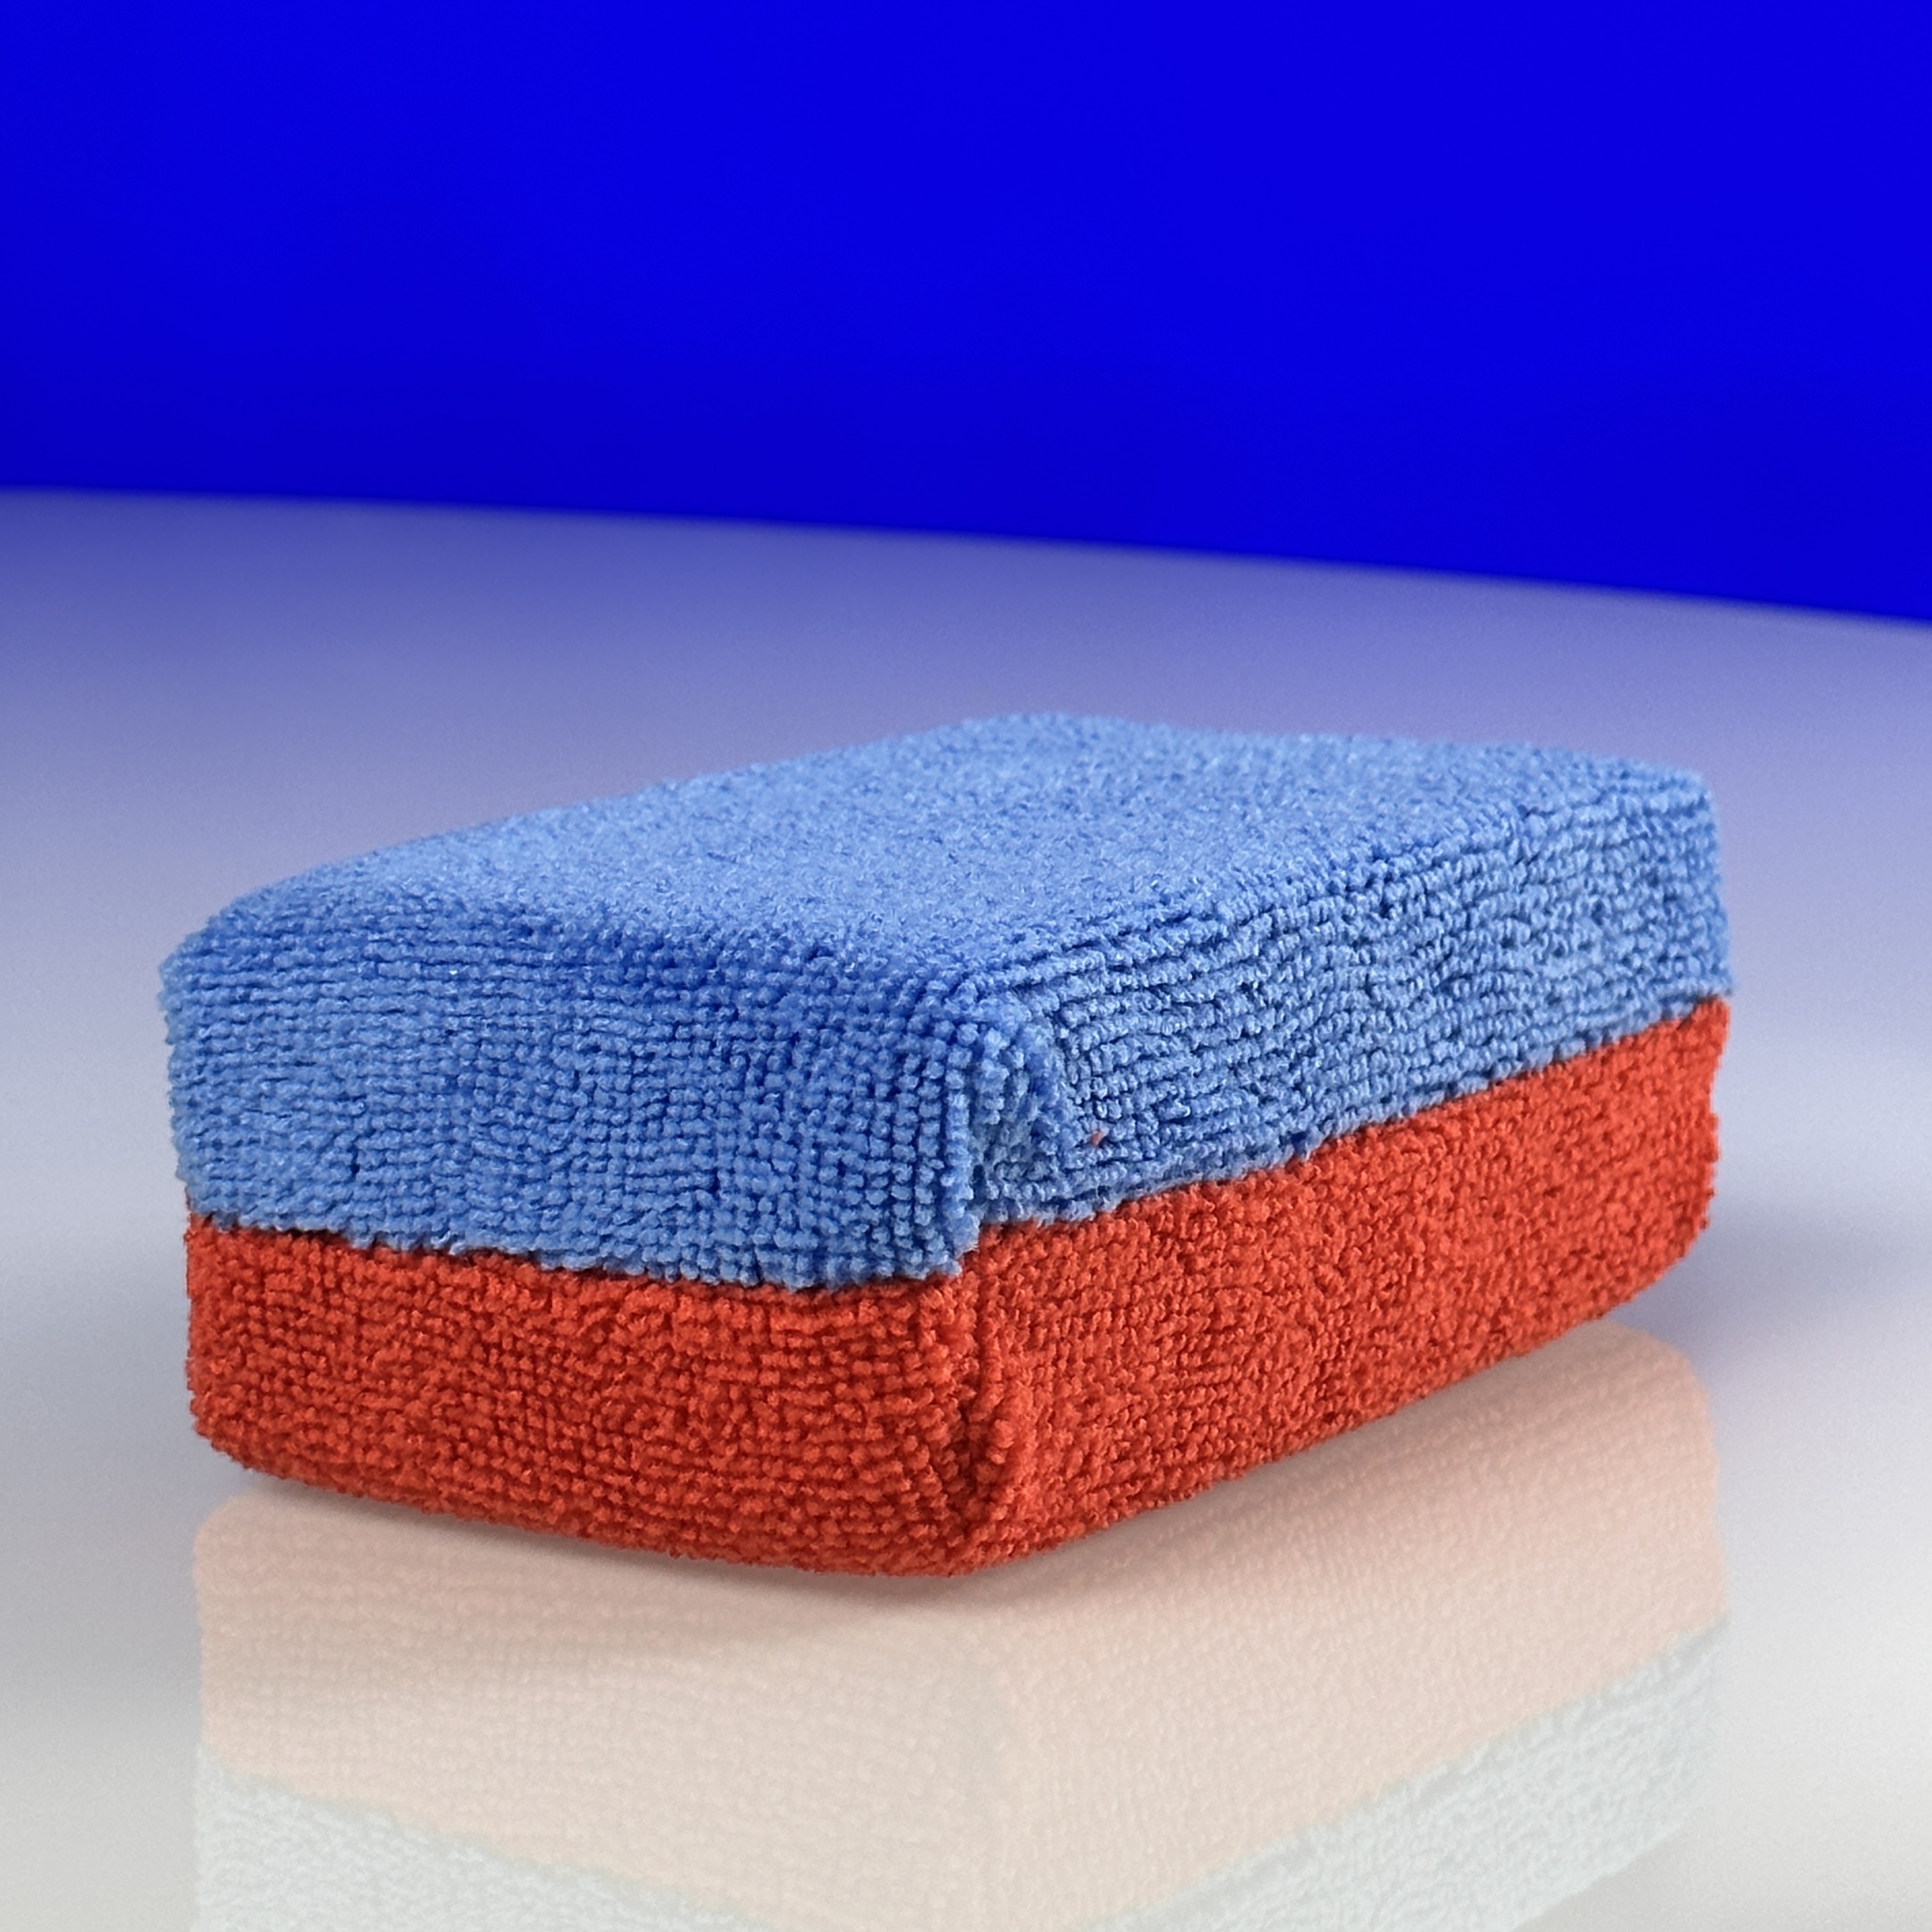
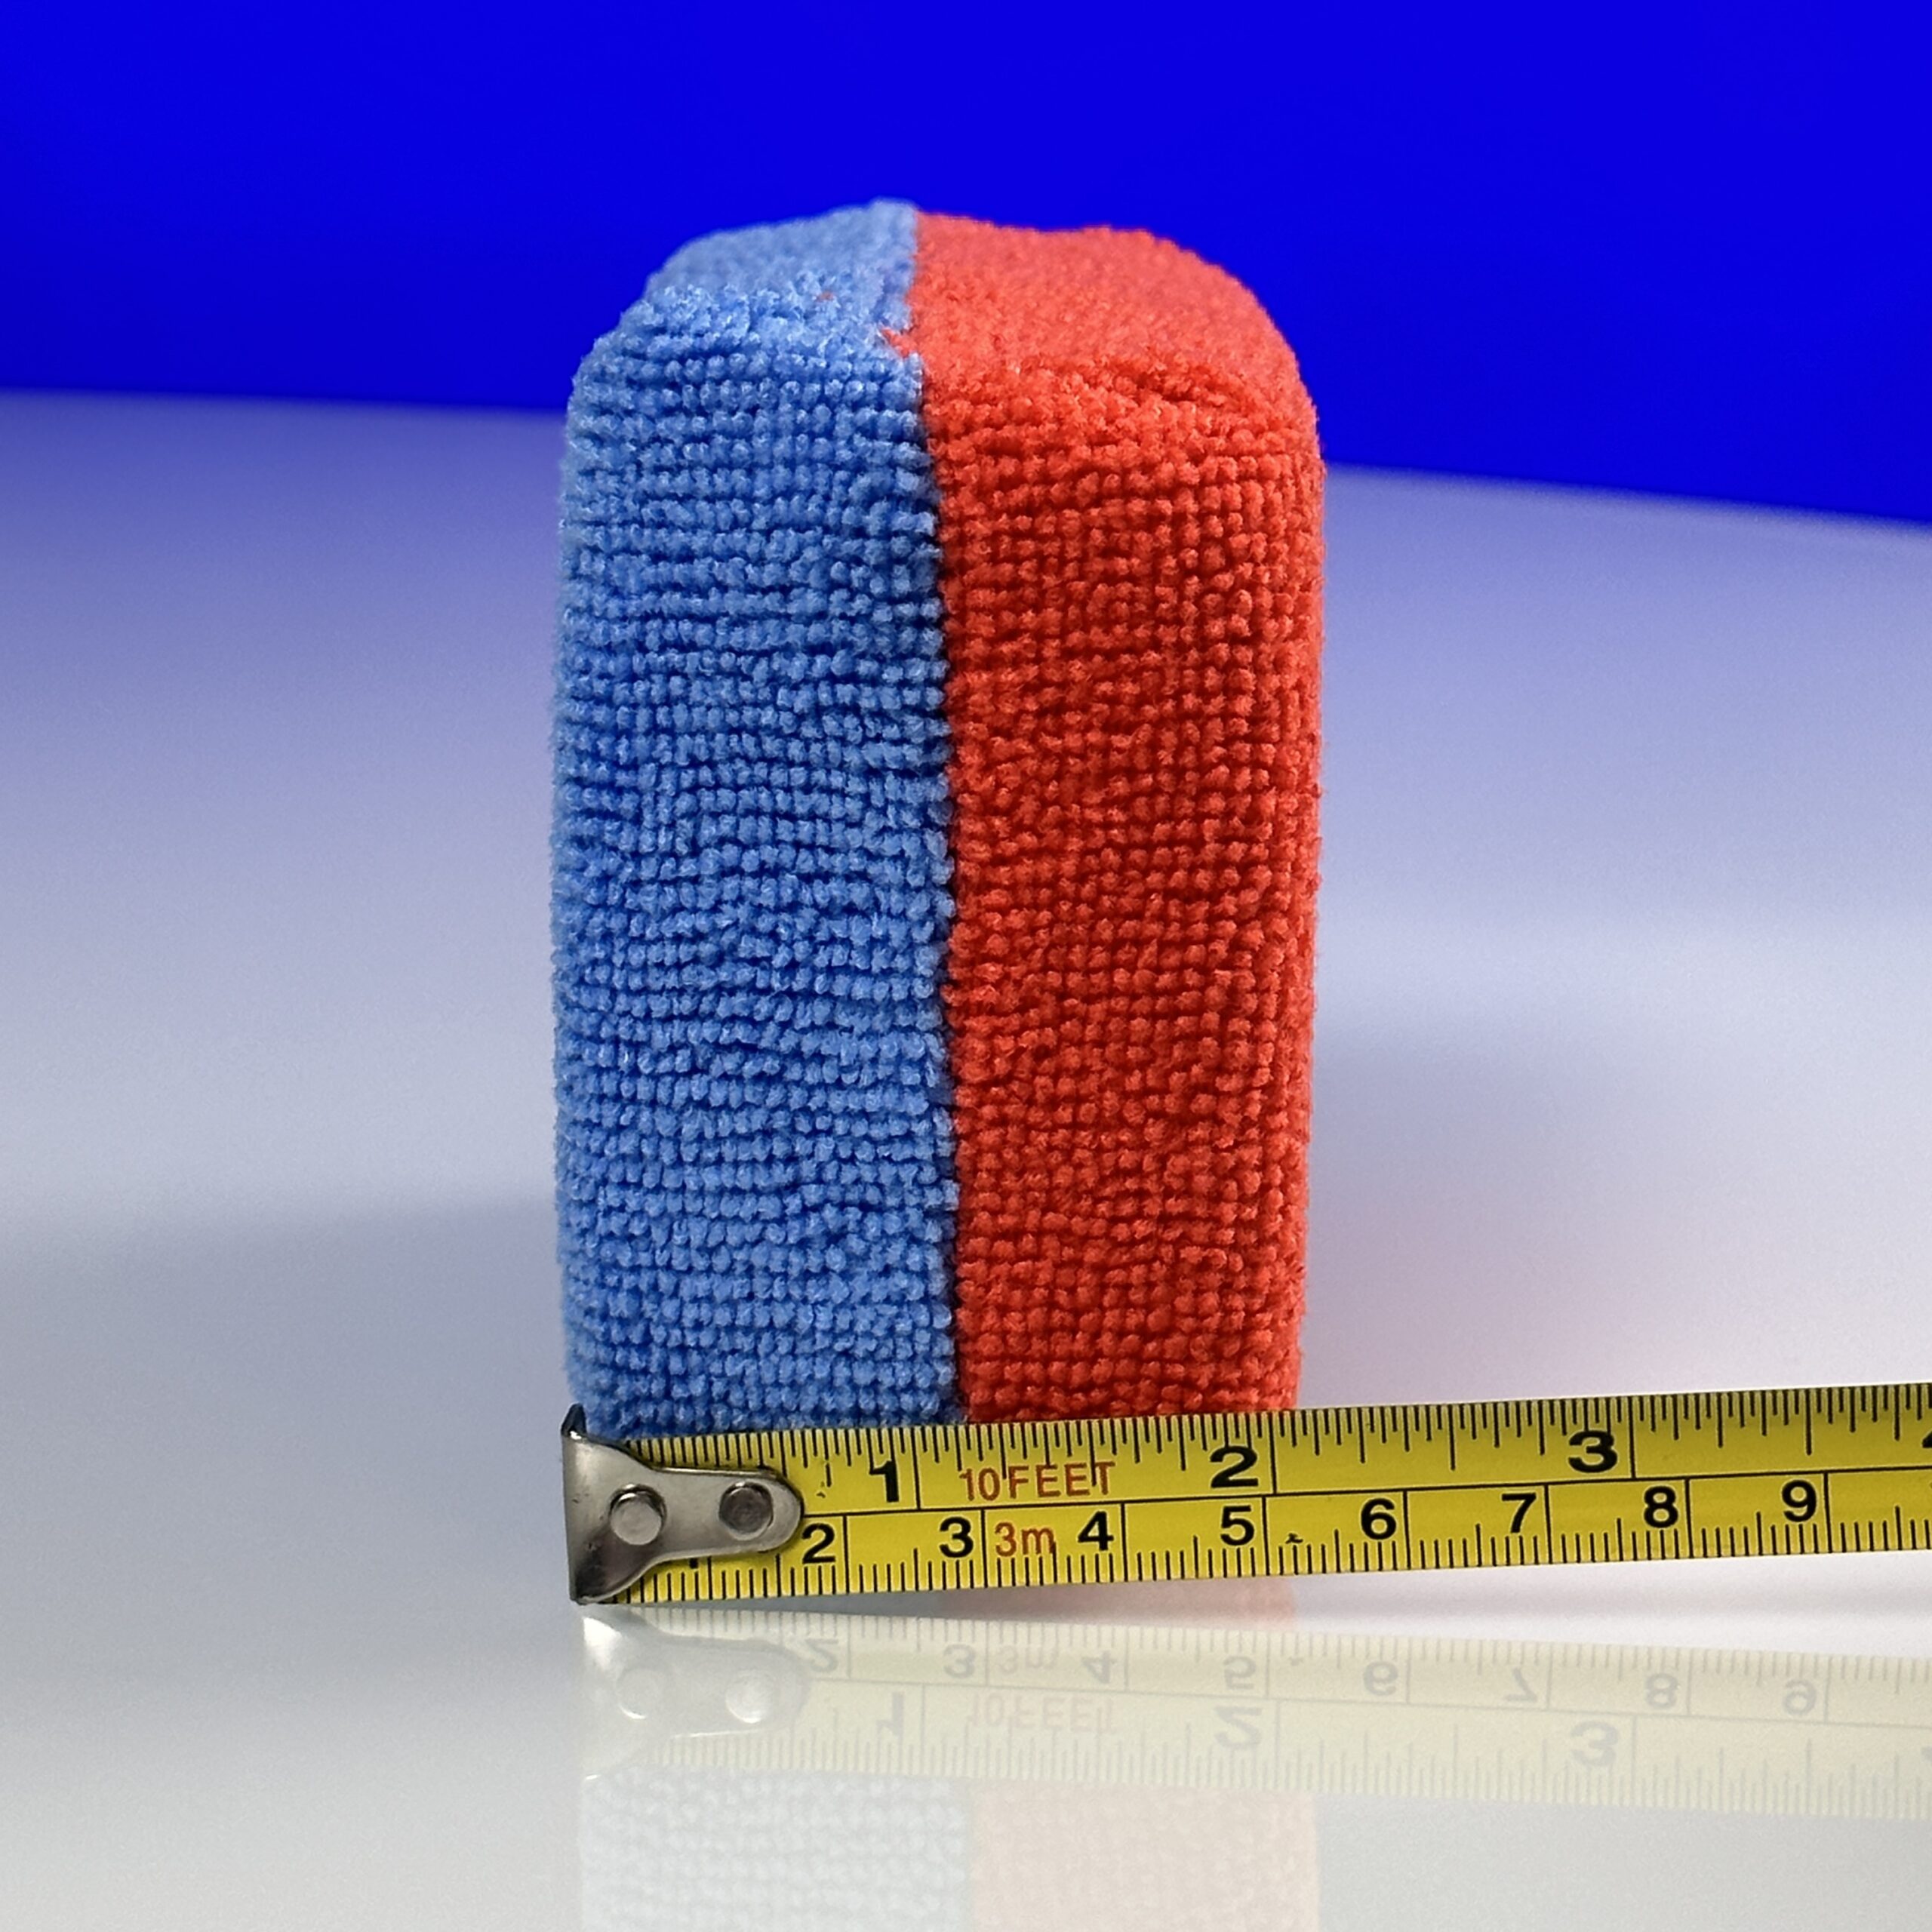
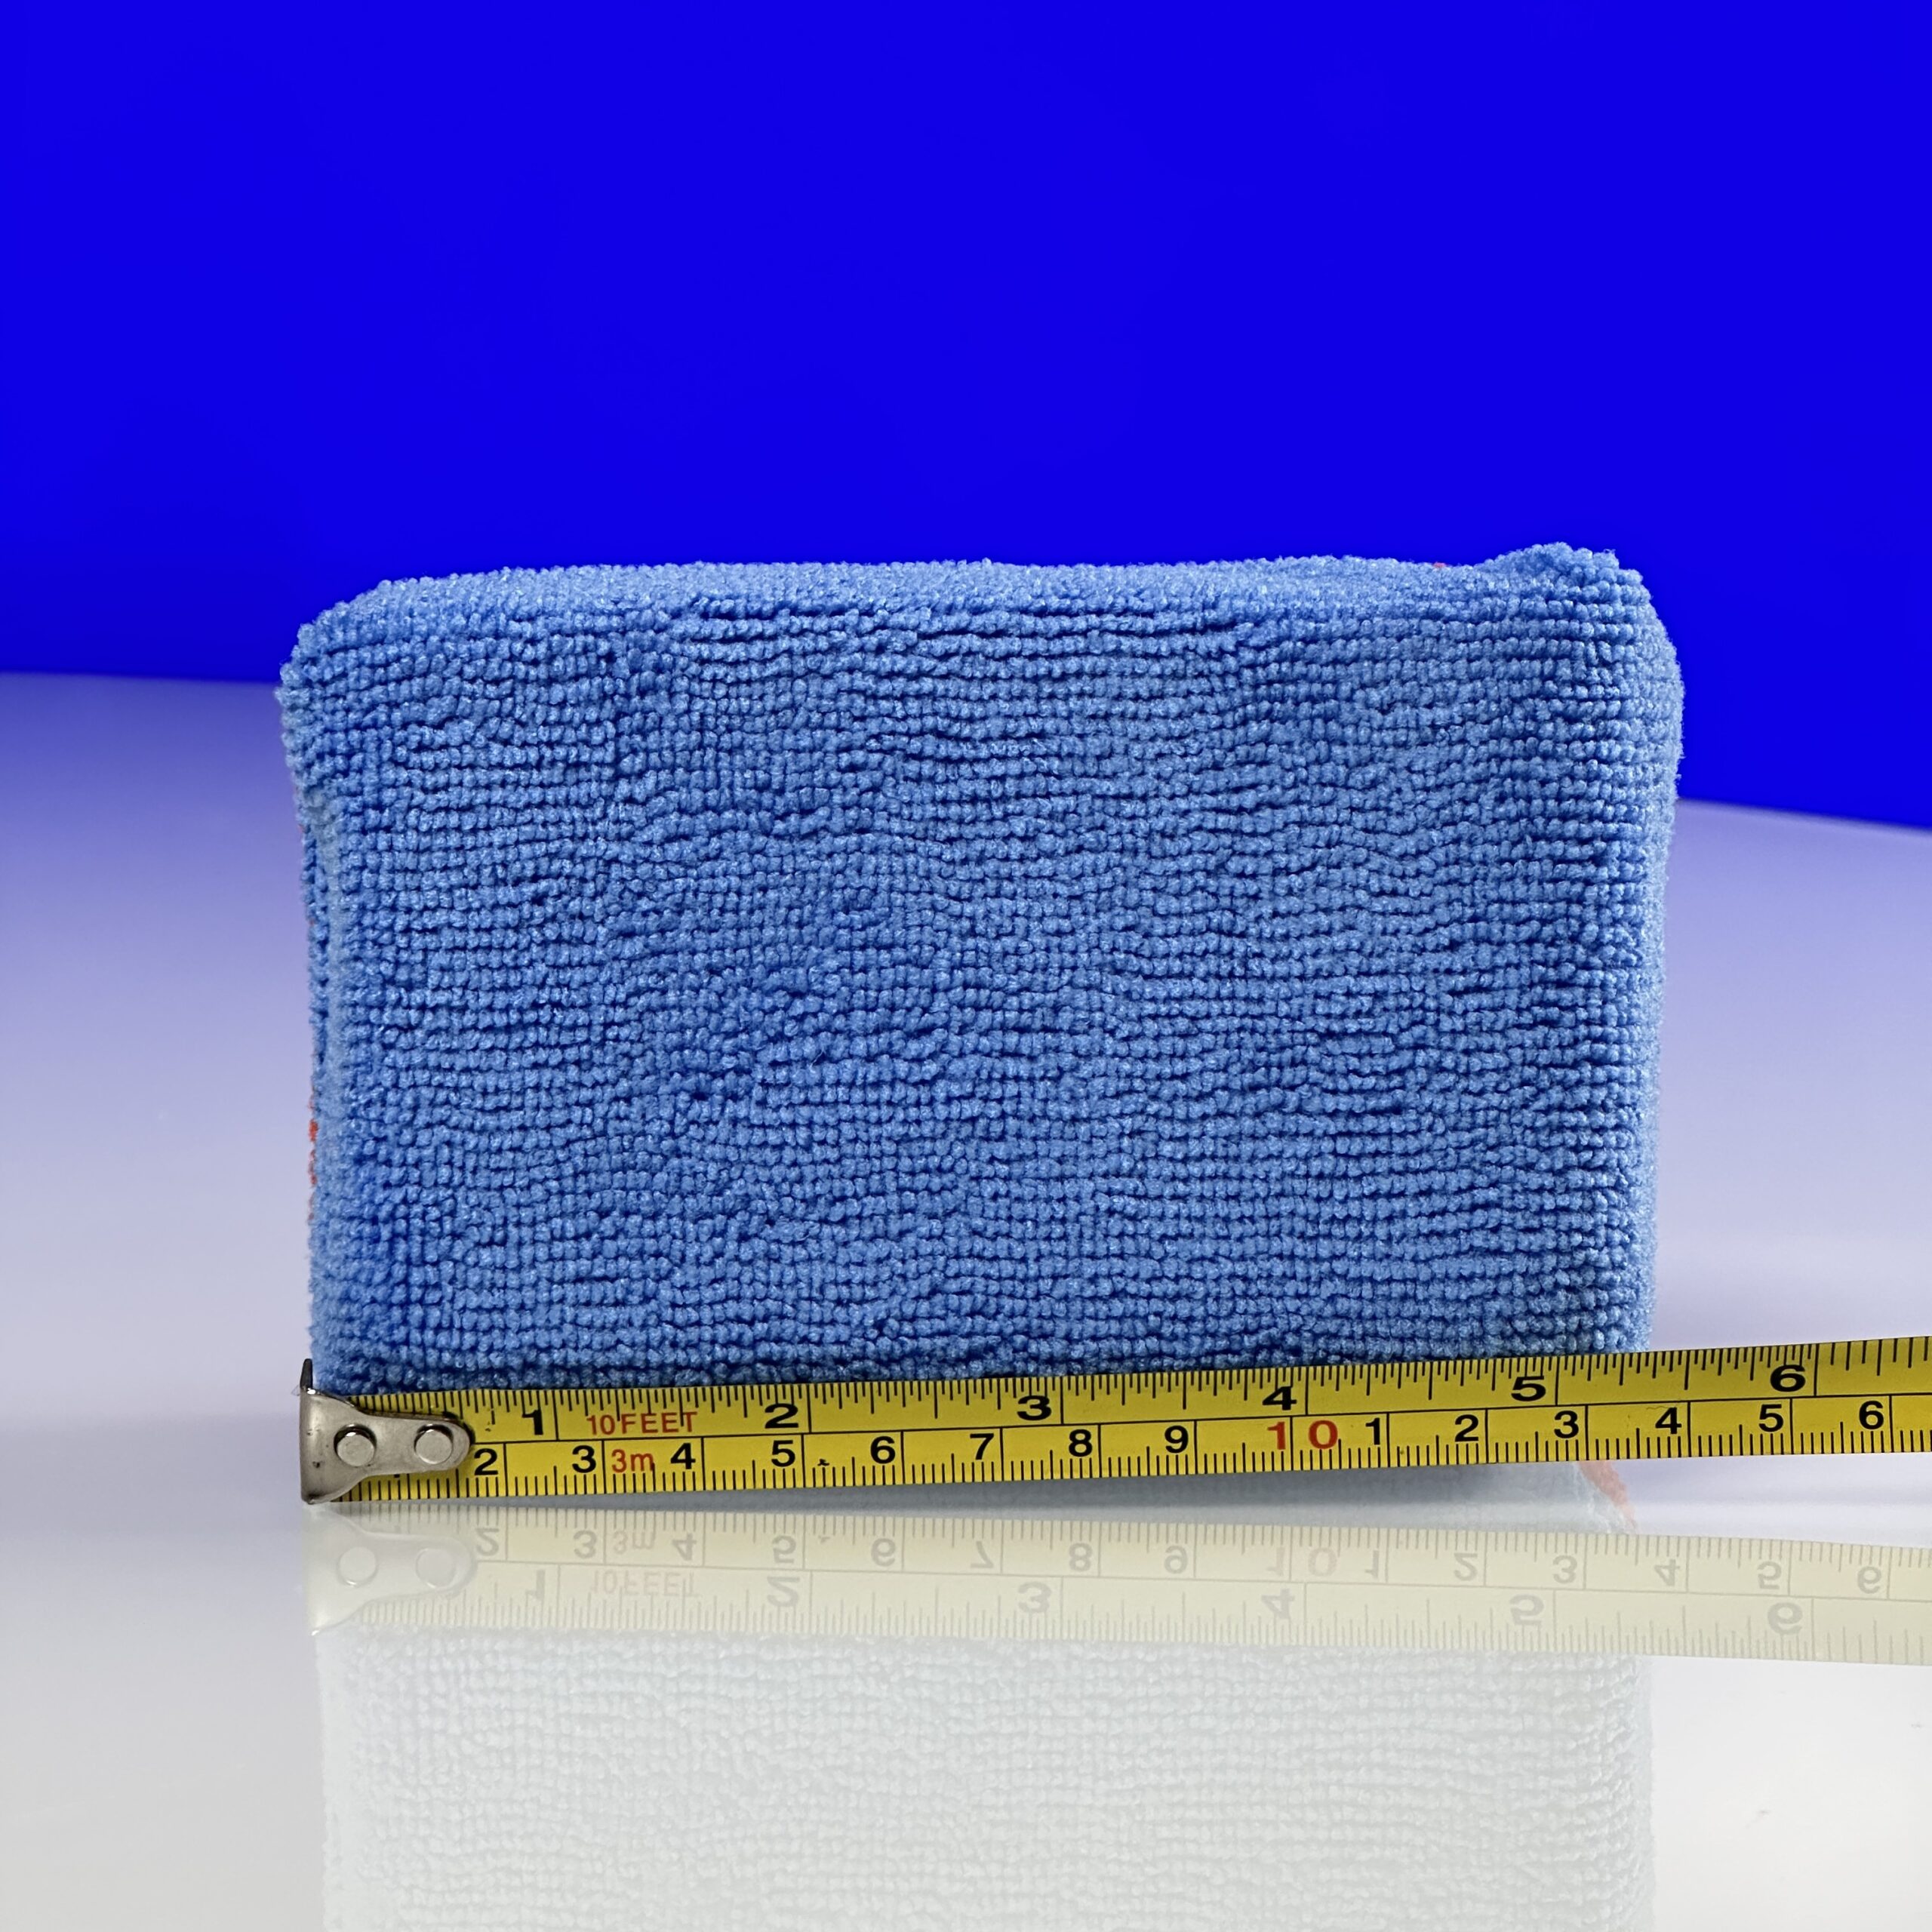
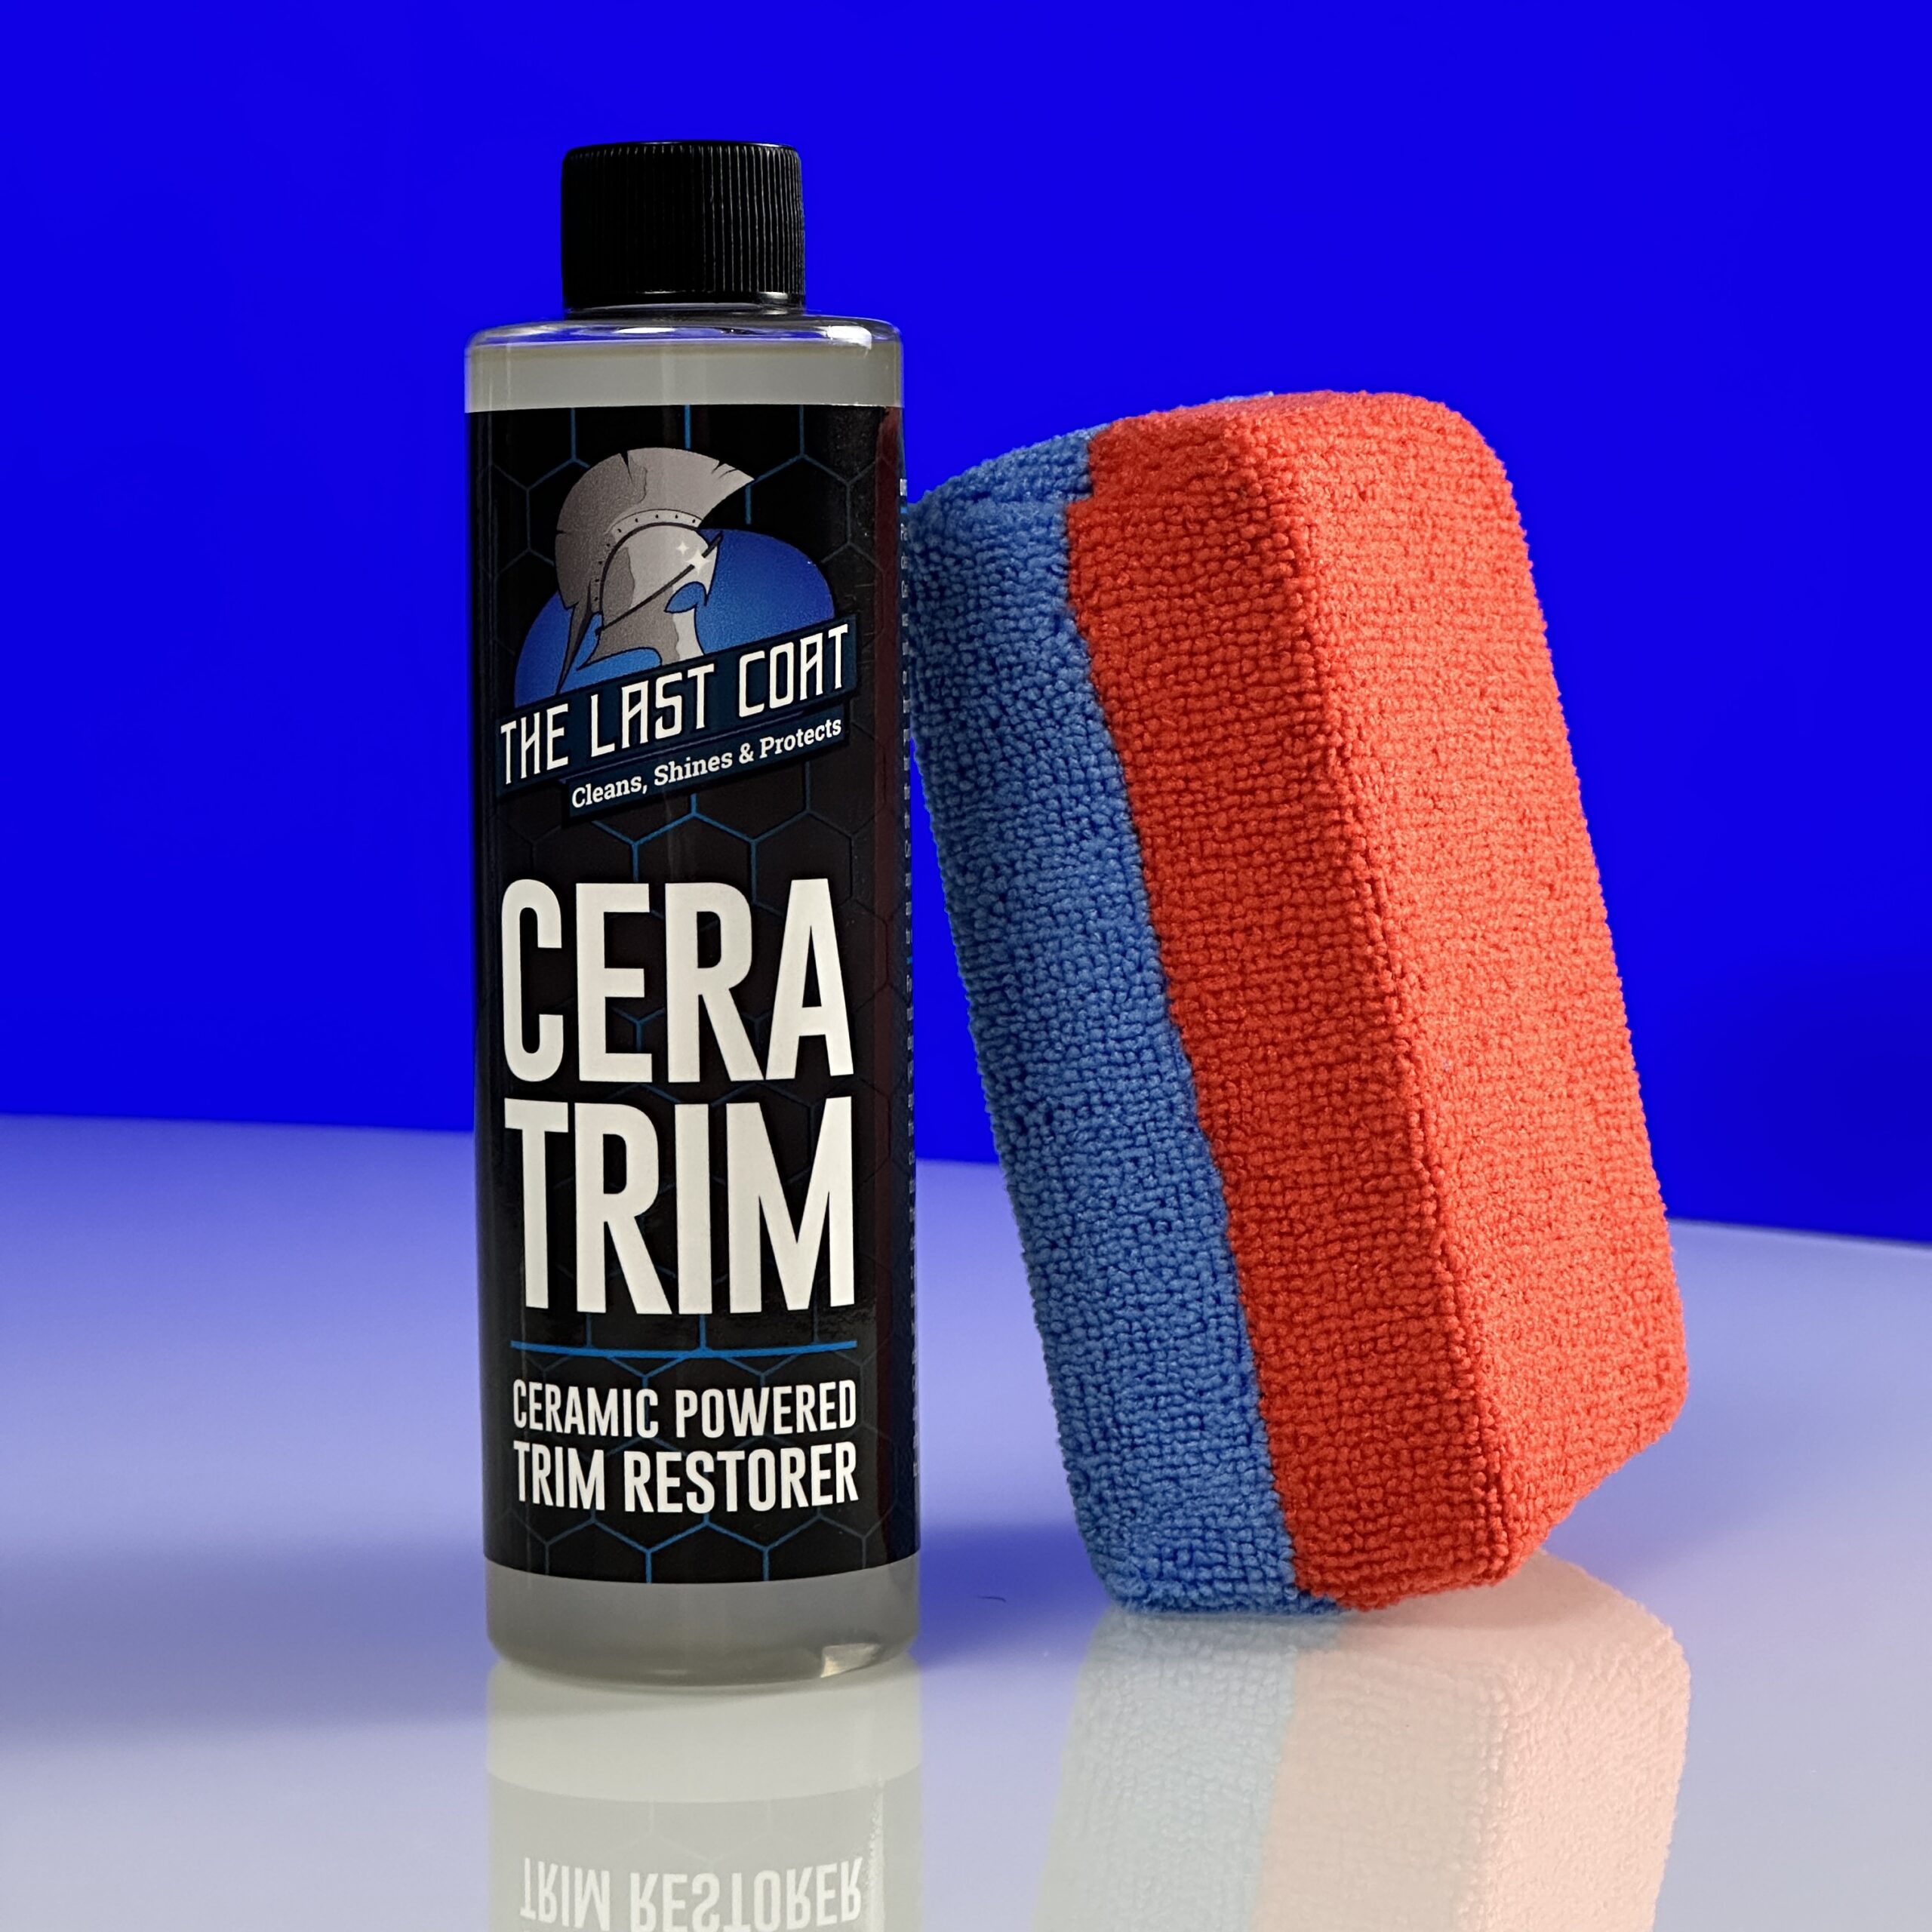
The Last Coat offers various products and accessories for vehicle detailing, and one of them is the Microfiber Coating Sponge. This sponge is designed for applying their coating products with precision, ensuring a smooth and even application. It comes in various quantity options to suit your needs and is a valuable tool for achieving a professional finish when applying The Last Coat’s coatings like the Upgraded Formula (TLC2) or Deep Ice Ceramic Coating.
The use of a microfiber applicator like this sponge helps distribute the coating evenly and minimizes the risk of streaks or uneven coverage. It’s particularly useful for detailing tasks on vehicles, including applying coatings to protect against water, dirt, UV rays, and more.
To use the Microfiber Coating Sponge, you can follow the manufacturer’s instructions, which may involve applying the coating product to the sponge and then evenly spreading it on the surface you want to protect or enhance.
Overall, The Last Coat provides a range of products and accessories to help achieve a professional shine and protection for your vehicle, and the Microfiber Coating Sponge is one of these useful tools.
Using The Last Coat Microfiber Applicator
The Last Coat Microfiber Applicator is a versatile tool designed to enhance your car detailing experience. Here’s a step-by-step guide on how to effectively use this applicator for various detailing tasks:
Materials You’ll Need:
- The Last Coat Microfiber Applicator
- The Last Coat products or your preferred detailing solutions
Step 1: Preparation
Start with a clean and debris-free car surface. This provides an optimal canvas for applying your chosen detailing product.
Step 2: Apply the Product
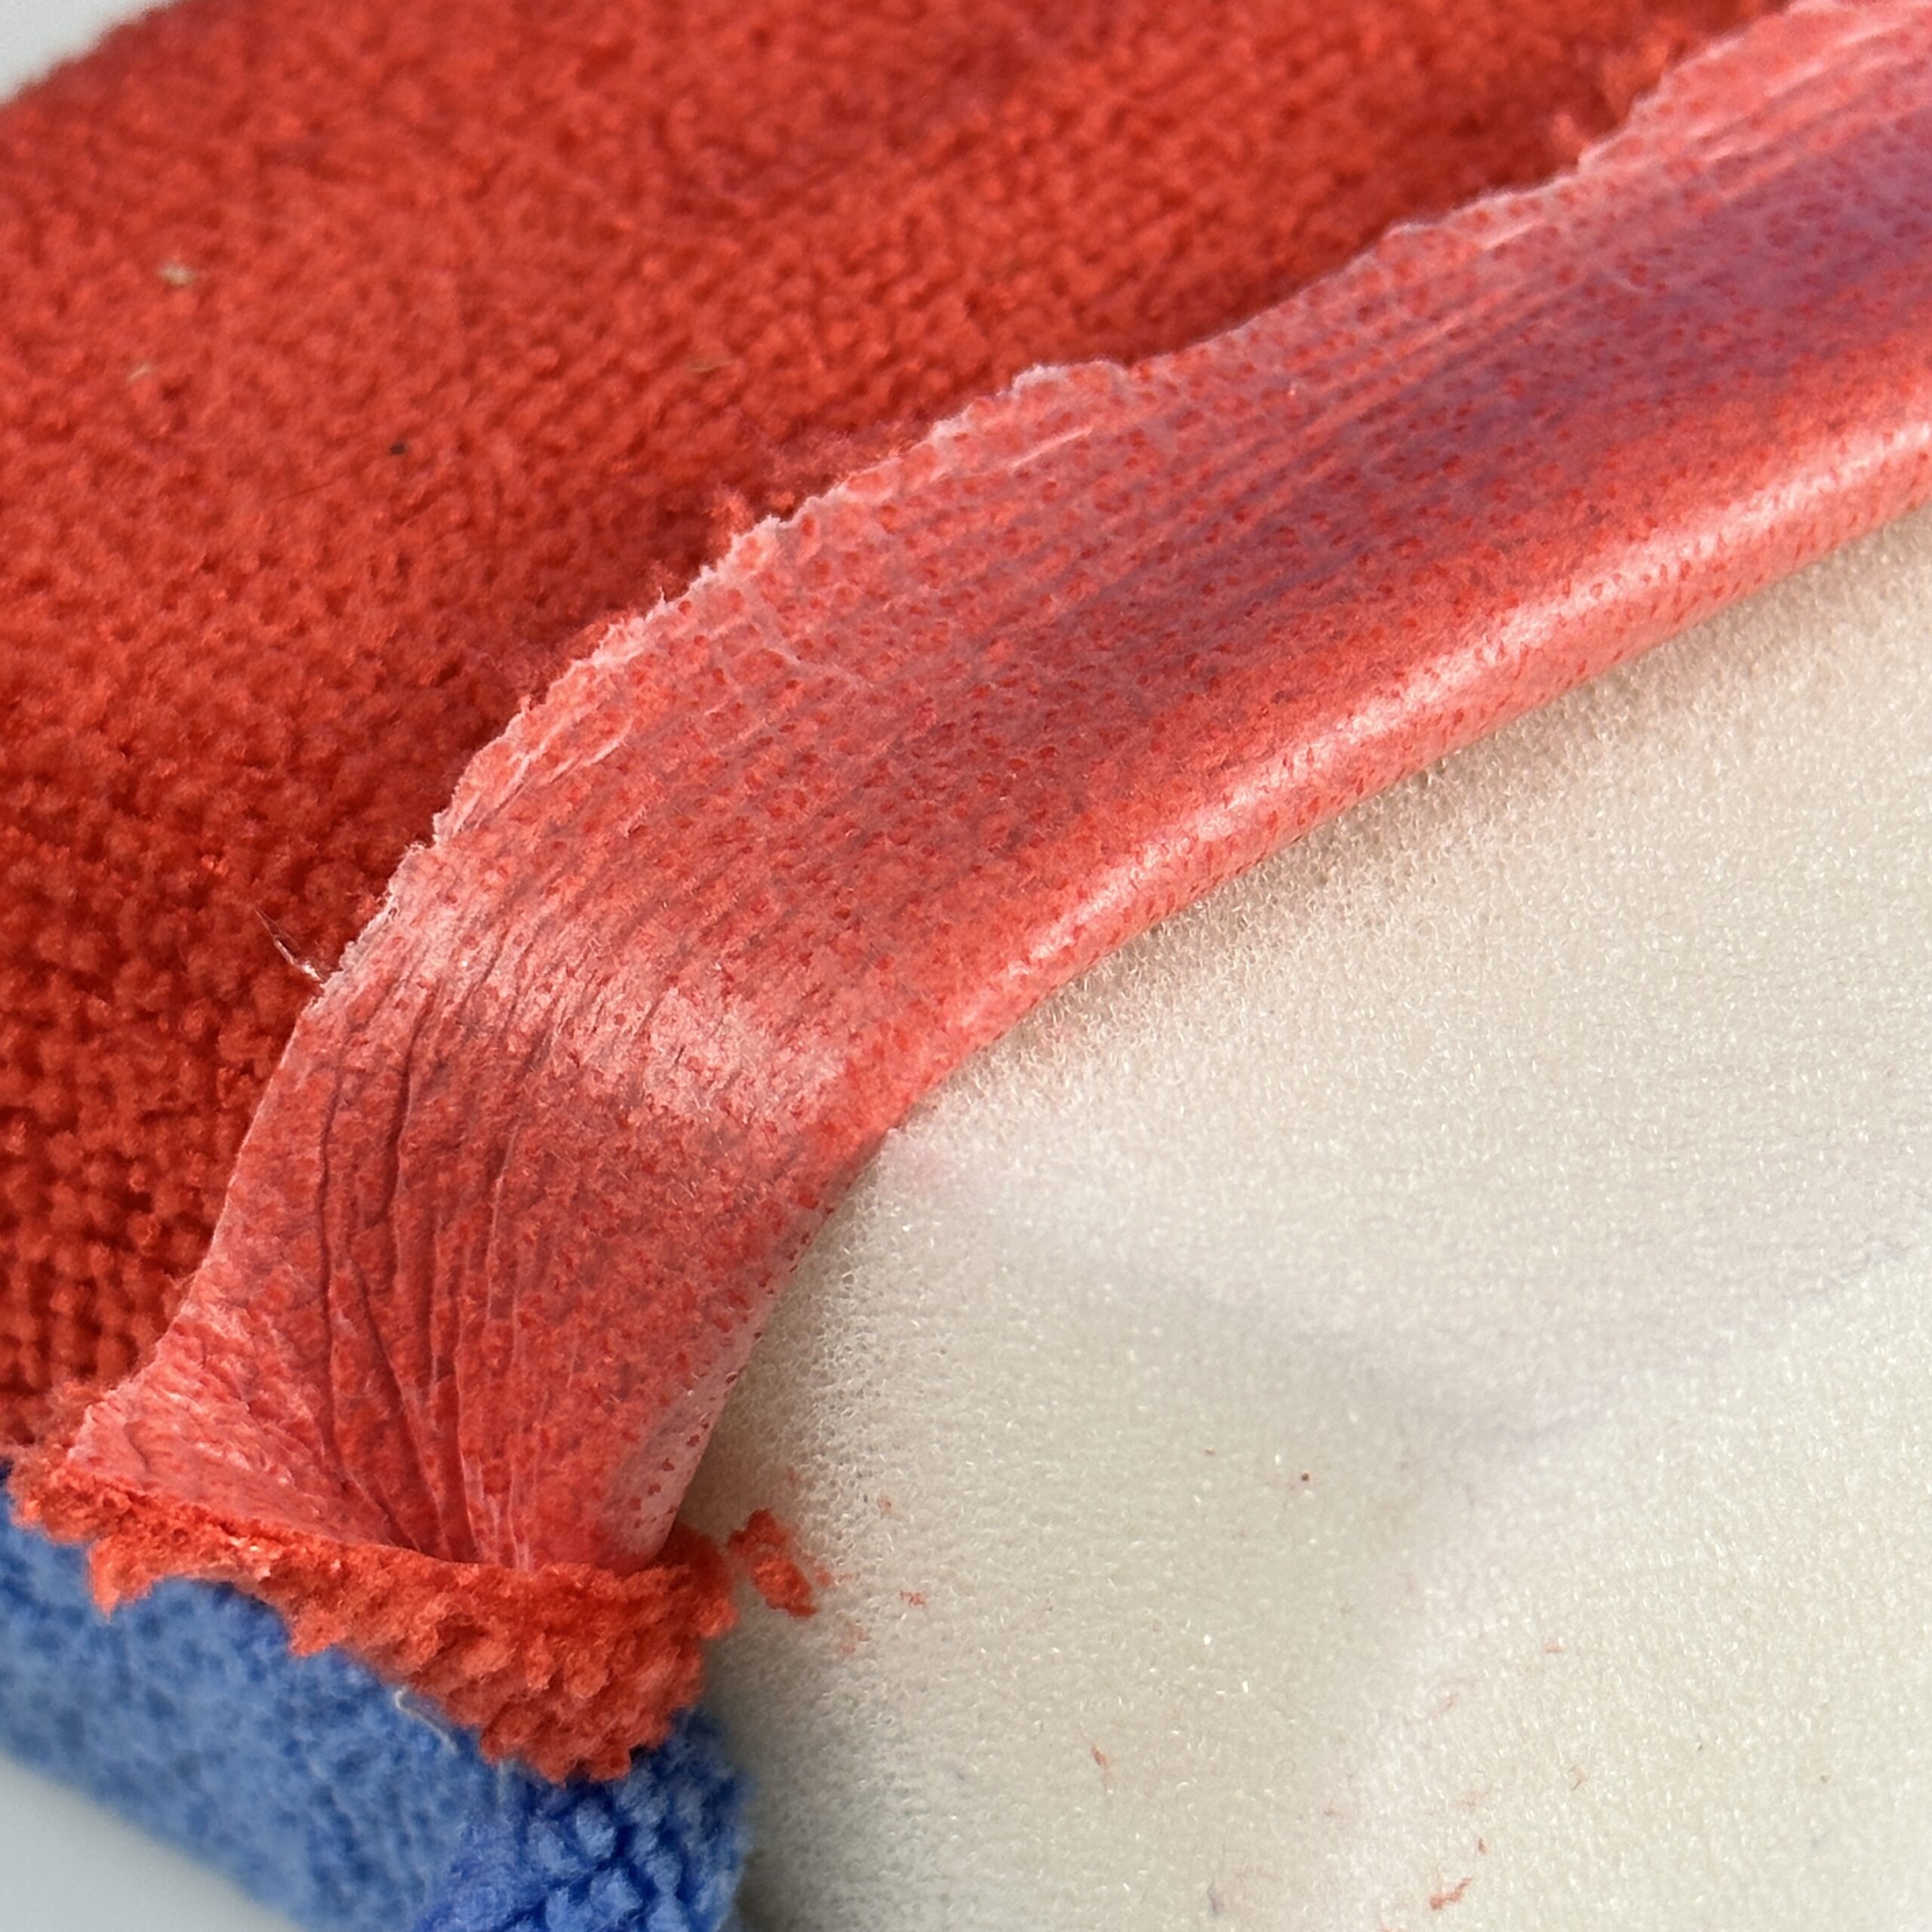
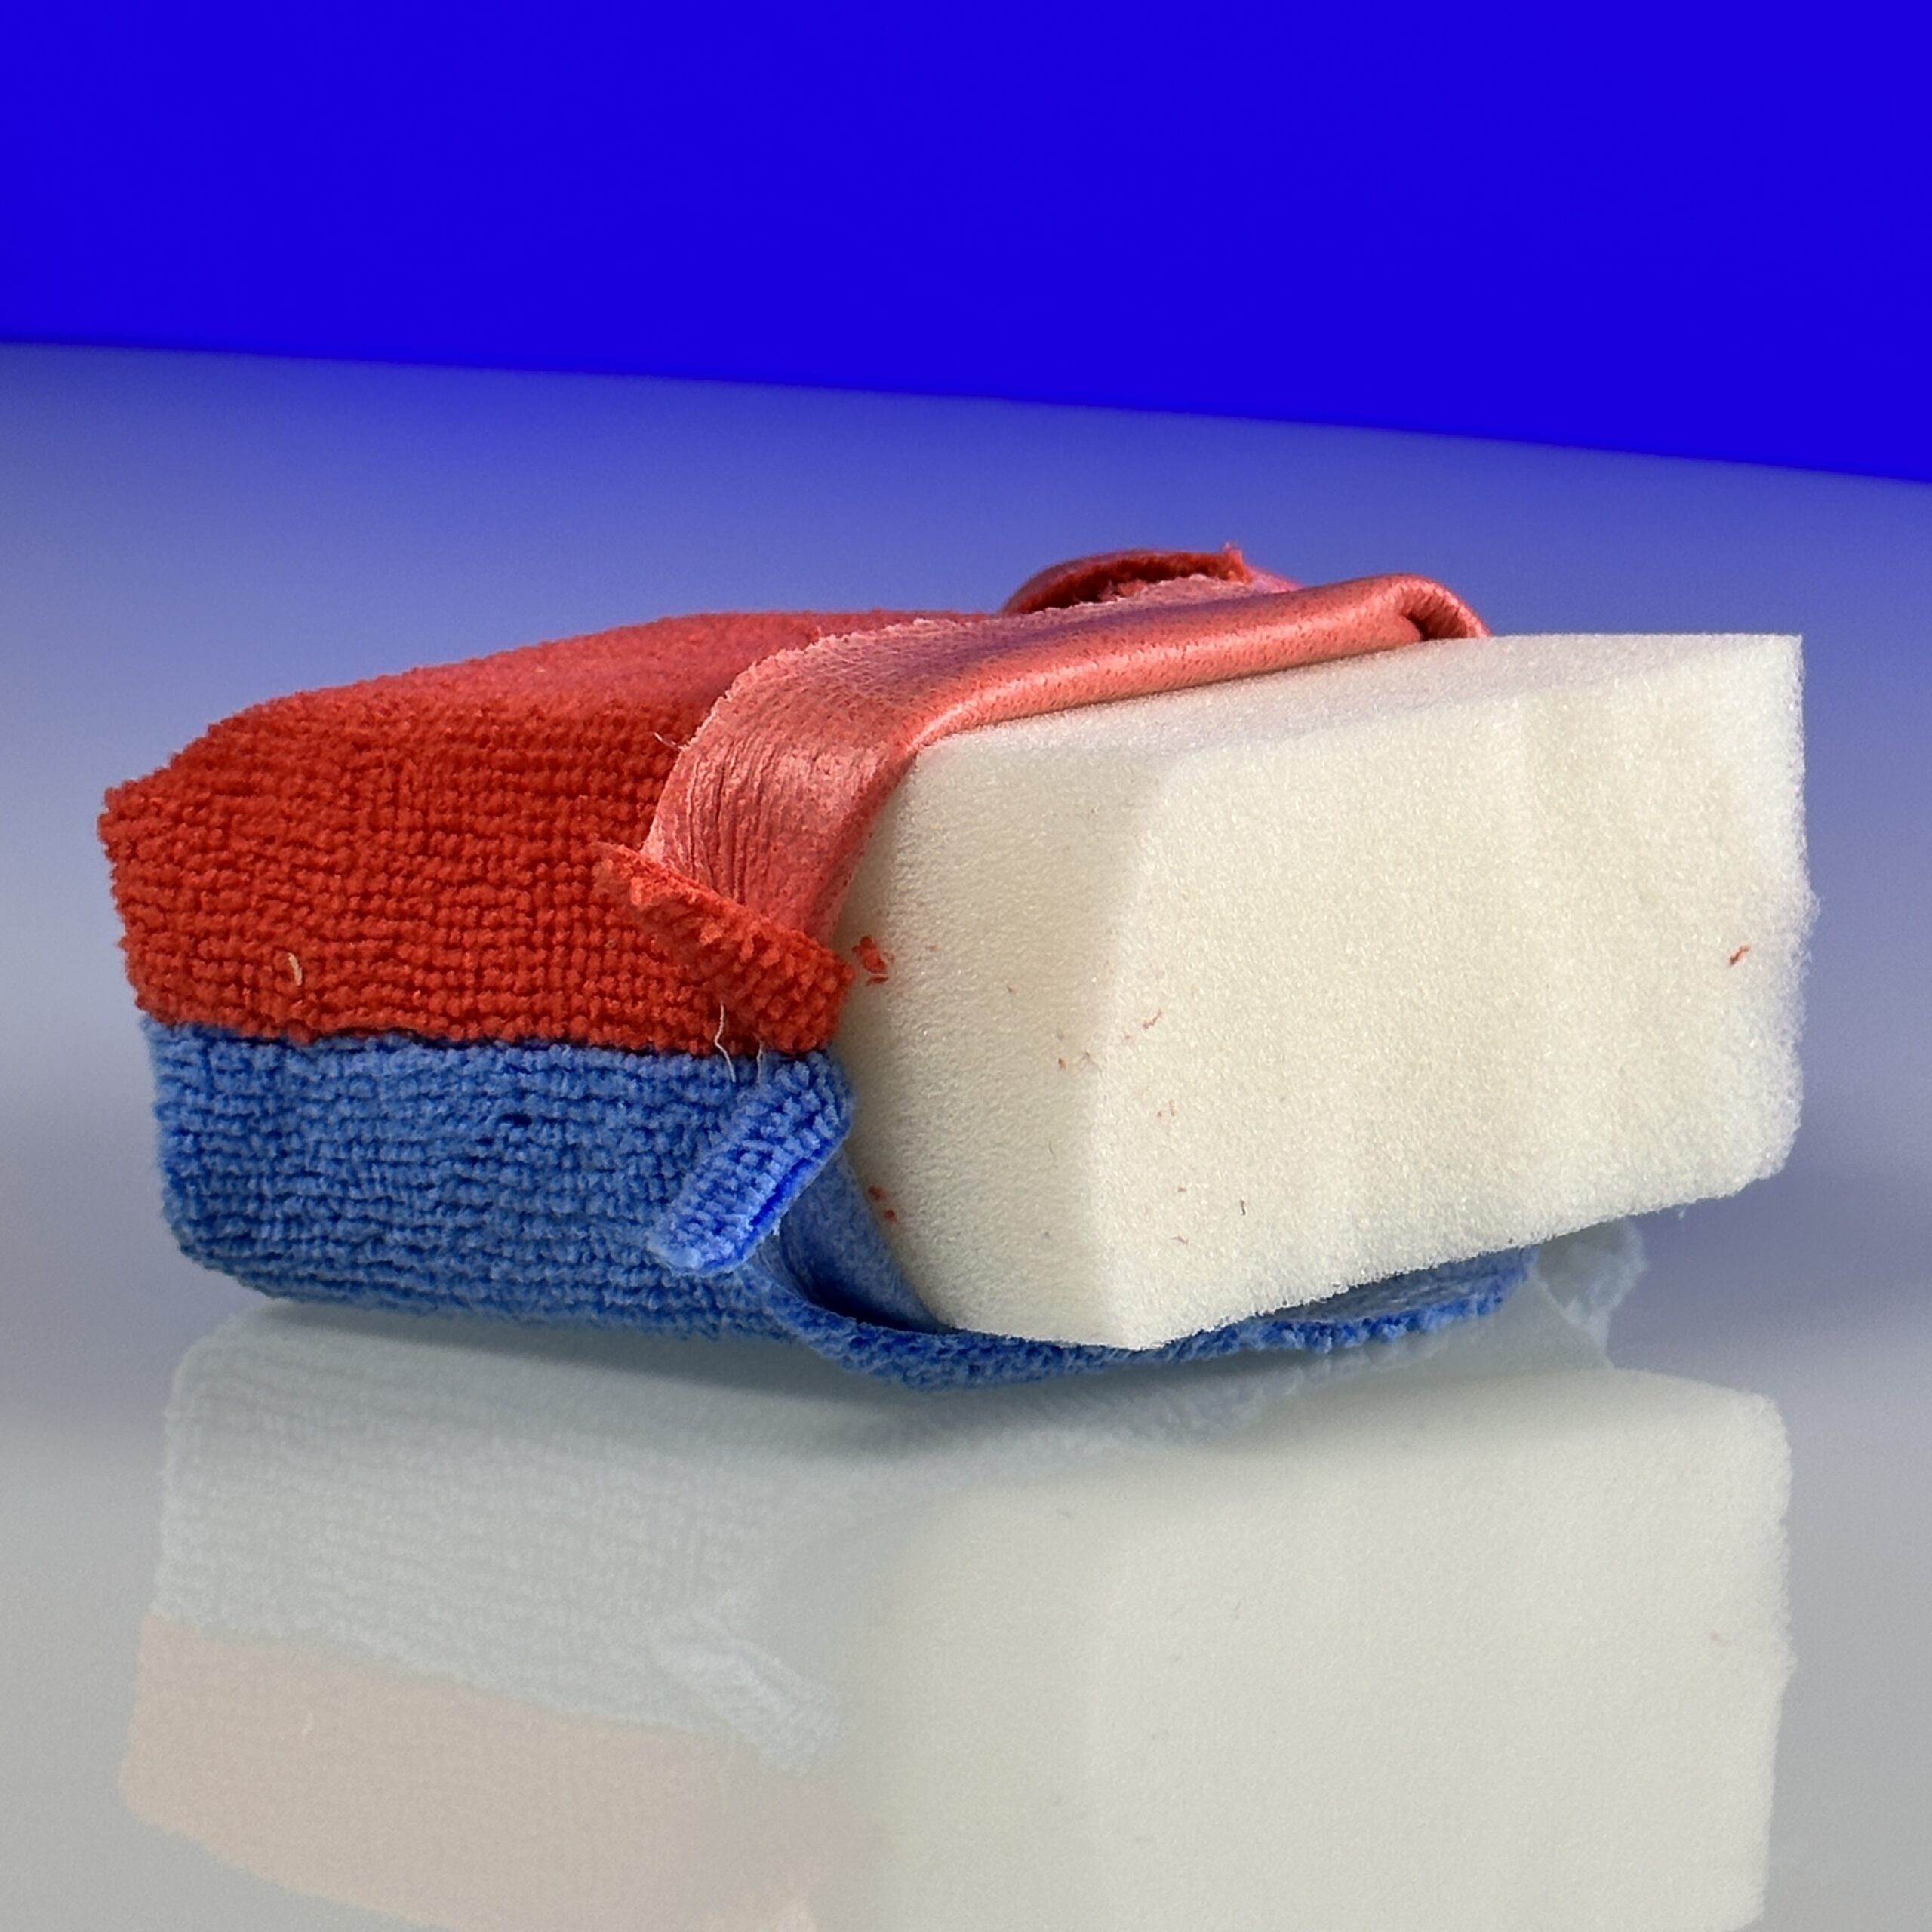
If you’re using The Last Coat products, apply a small amount directly onto the Microfiber Applicator. Note that this applicator features a plastic film inside to keep the product on the surface of the microfiber, preventing excessive absorption and maximizing efficiency.
Step 3: Spread Evenly
Gently spread the product on the surface using the Microfiber Applicator. Thanks to the plastic film, the product remains on the microfiber’s surface, ensuring even distribution and preventing streaks or uneven coverage.
Step 4: Work in Sections
For larger areas, divide your work into manageable sections. Apply the product to one section at a time to ensure thorough coverage.
Step 5: Buff and Polish
After applying the product, use the clean side of the Microfiber Applicator to buff and polish the surface. This step helps distribute the product evenly and achieve a smooth, glossy finish.
Step 6: Repeat as Needed
Depending on your detailing goals, you may need to repeat the process on other sections or surfaces. The Microfiber Applicator is designed for efficiency and ease of use.
Step 7: Maintain and Clean
After use, rinse or clean your Microfiber Applicator according to the manufacturer’s instructions. Proper maintenance ensures its longevity and effectiveness for future detailing sessions.
Step 8: Proper Storage
Store your Microfiber Applicator in a clean, dry place, away from contaminants. This ensures it’s ready for your next detailing project.
The Last Coat Microfiber Applicator, with its innovative plastic film, simplifies the application of detailing products, prevents excessive absorption, and enhances the efficiency of your car detailing routine. Whether you’re applying coatings, waxes, or other solutions, this applicator ensures professional-level results with ease.
