Skip to content
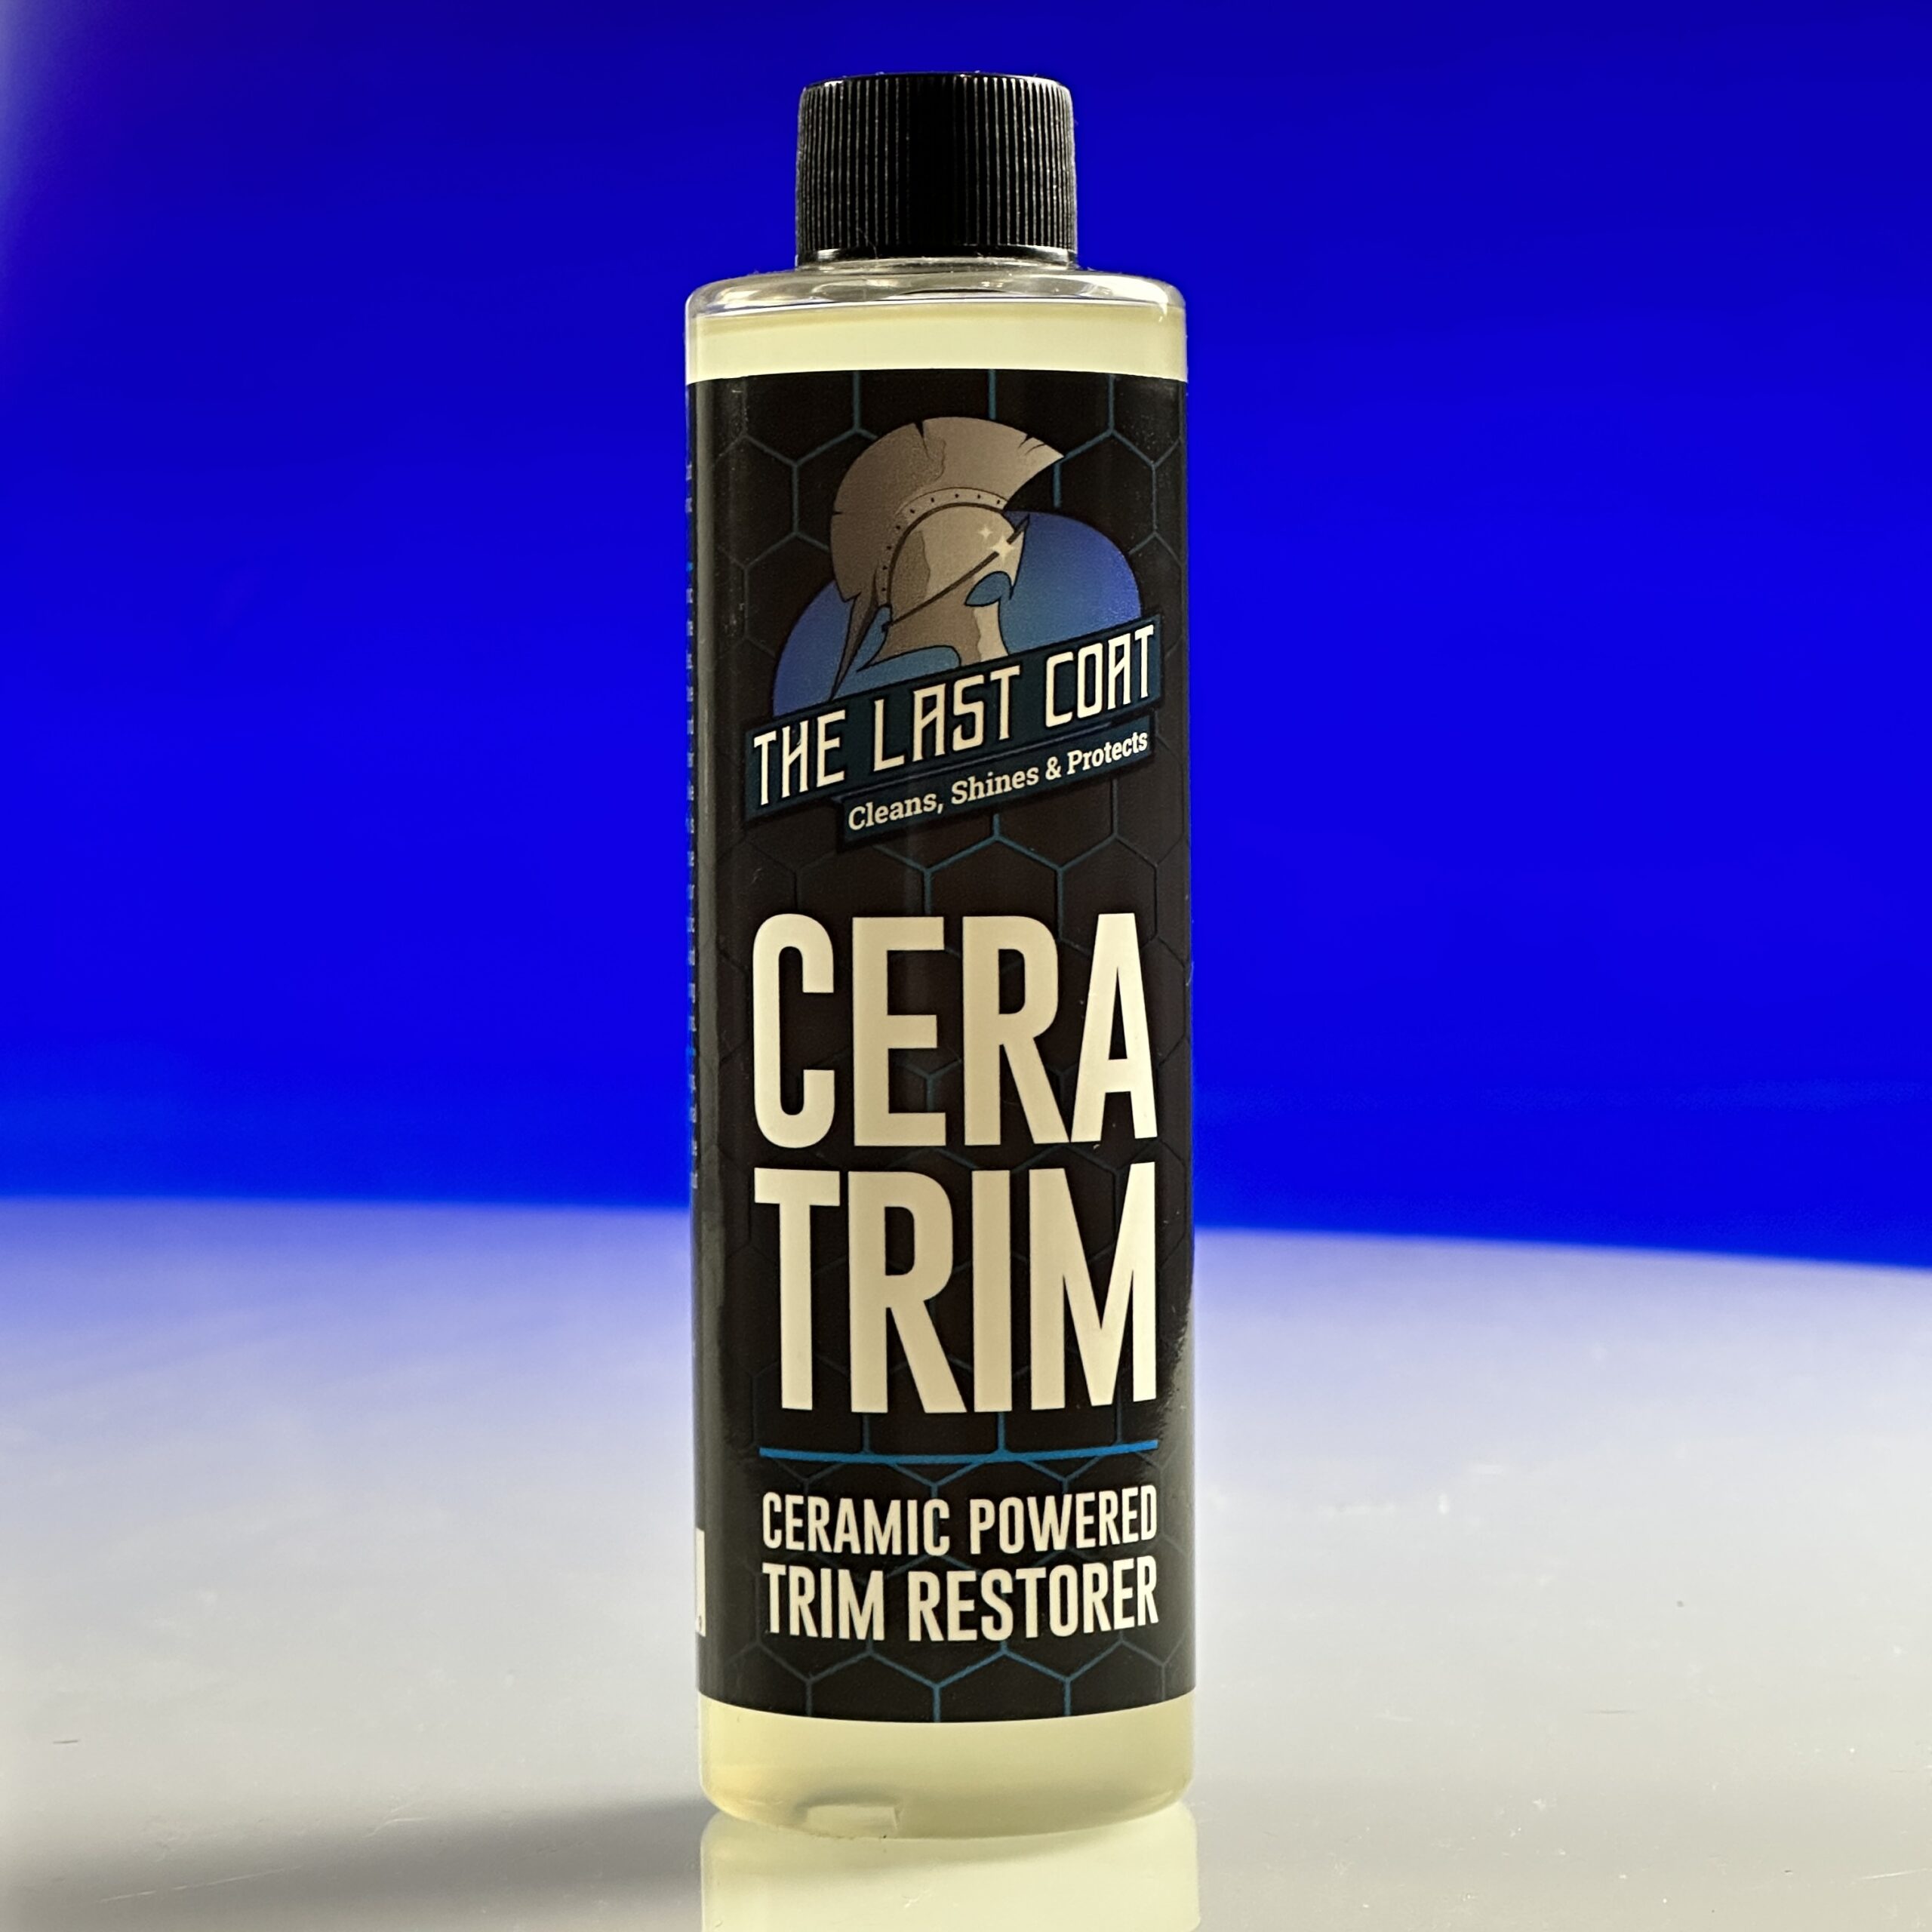
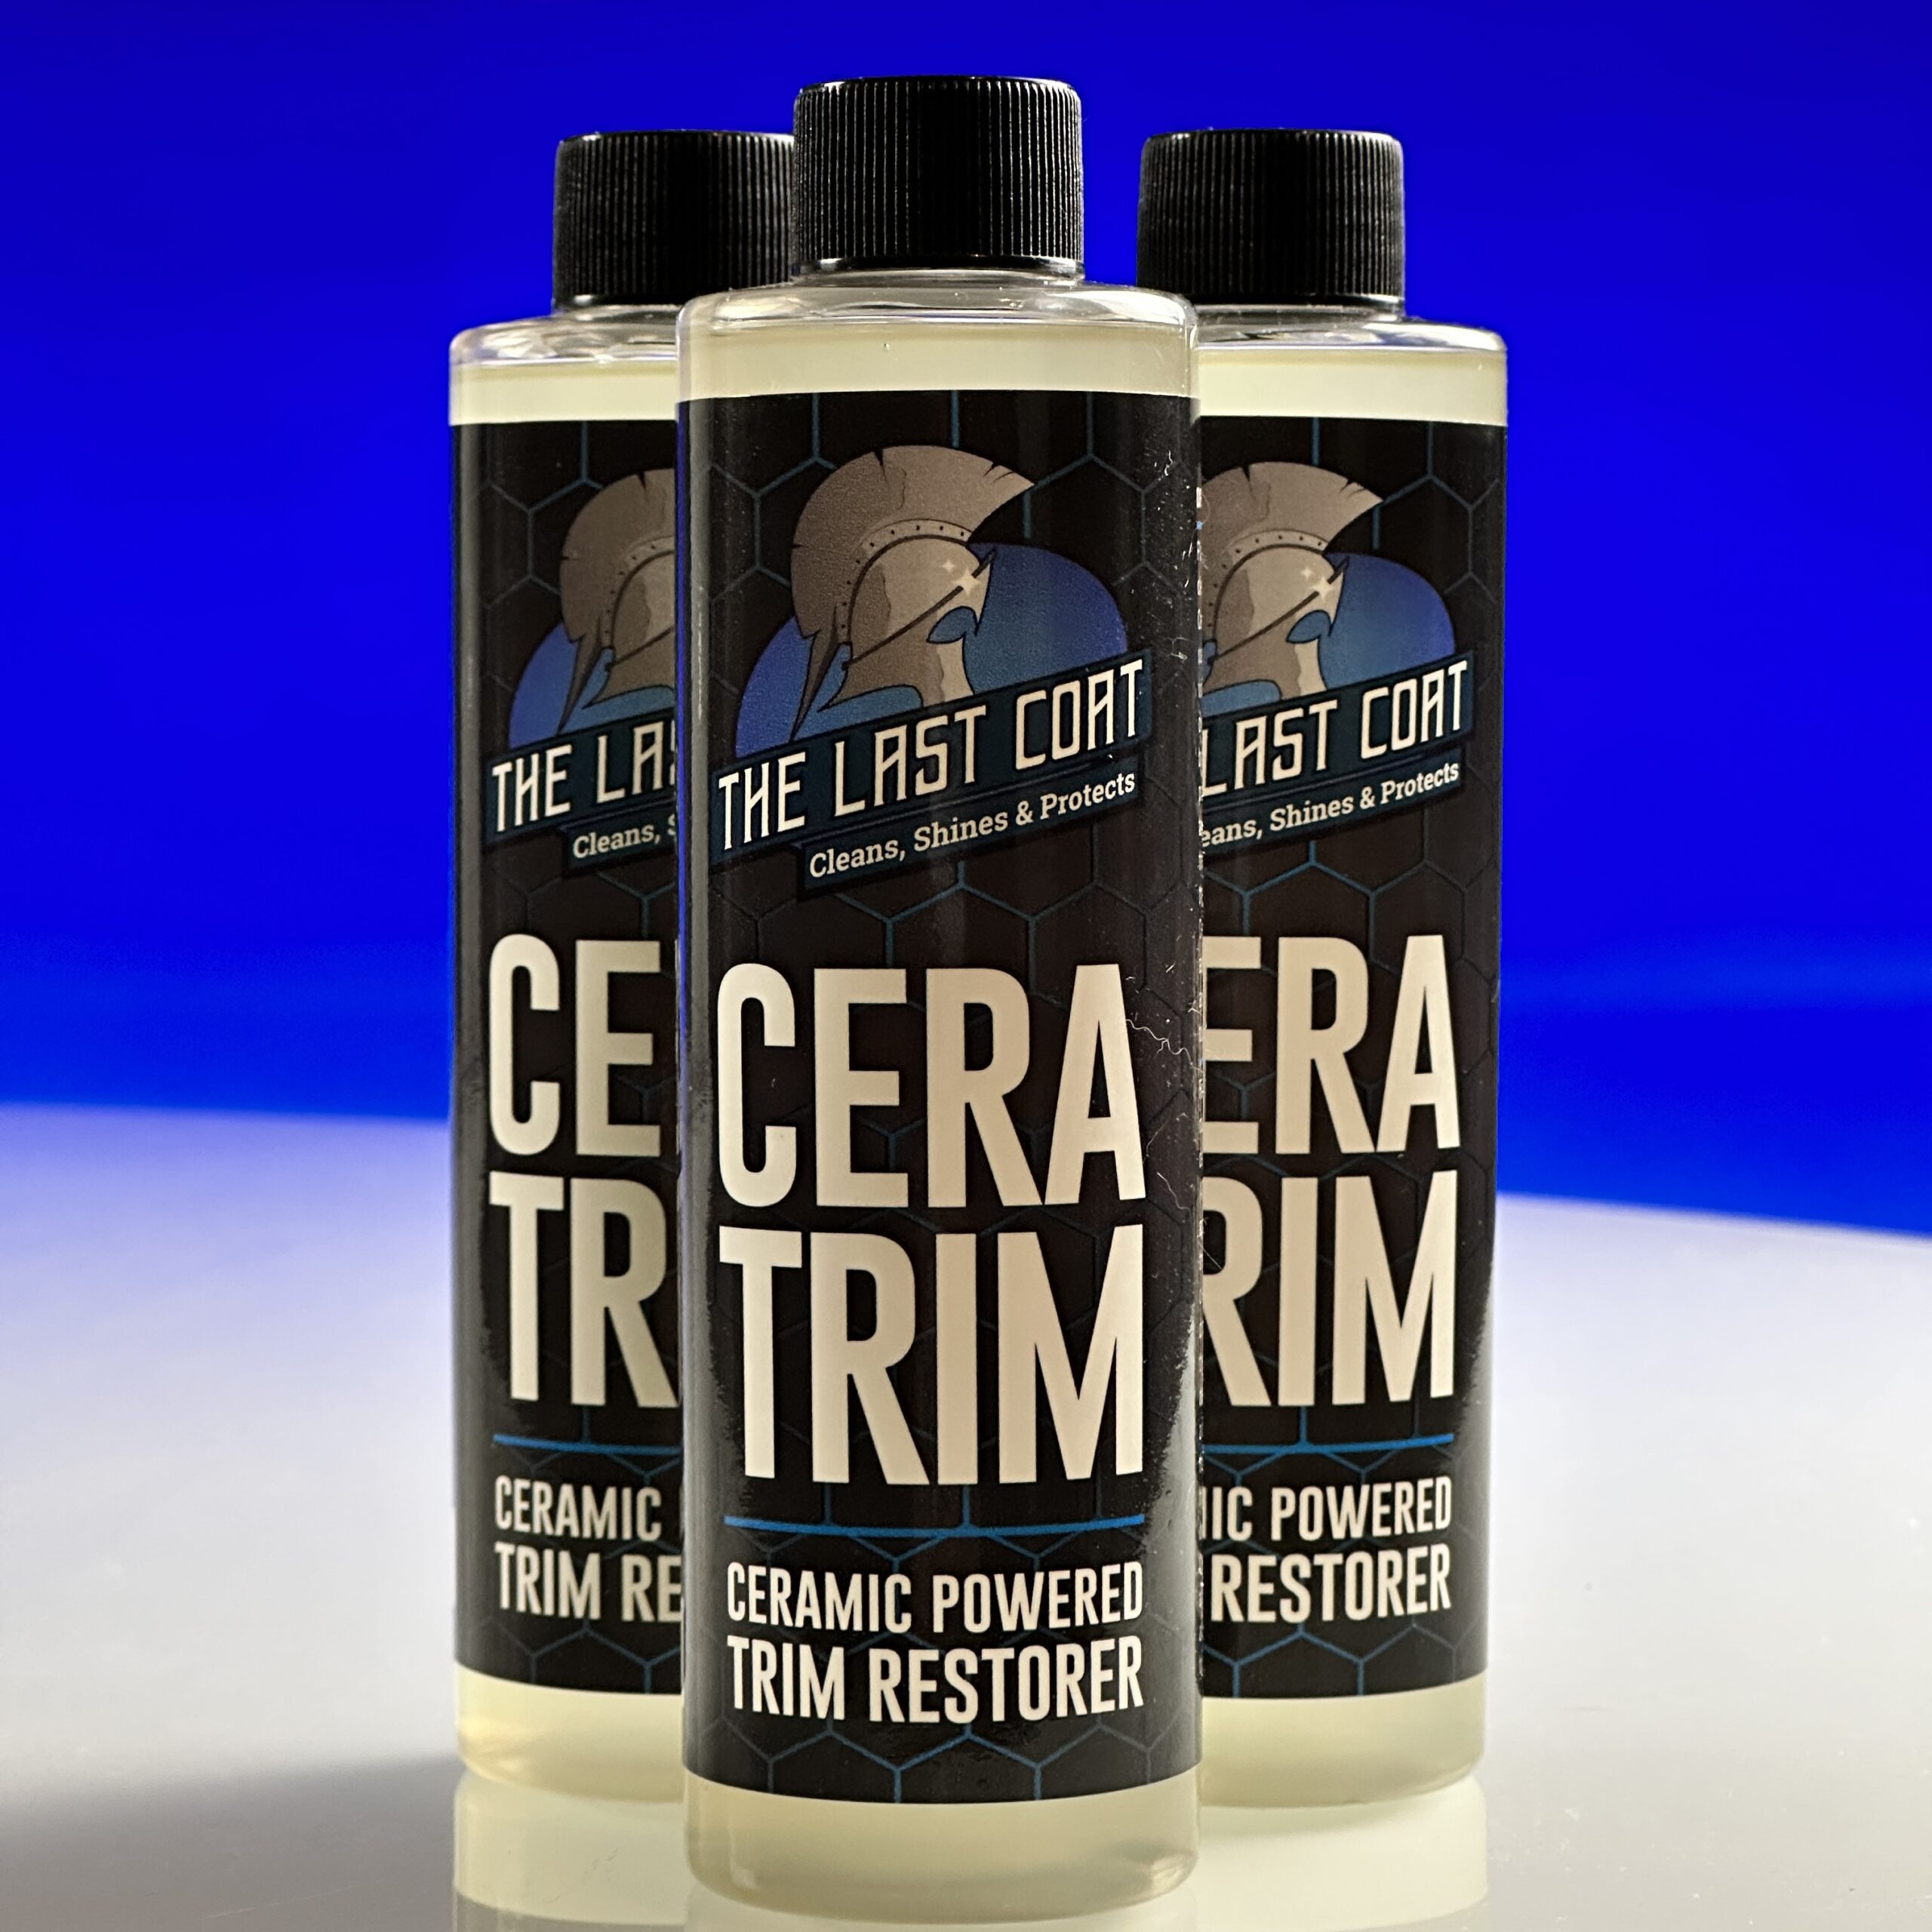

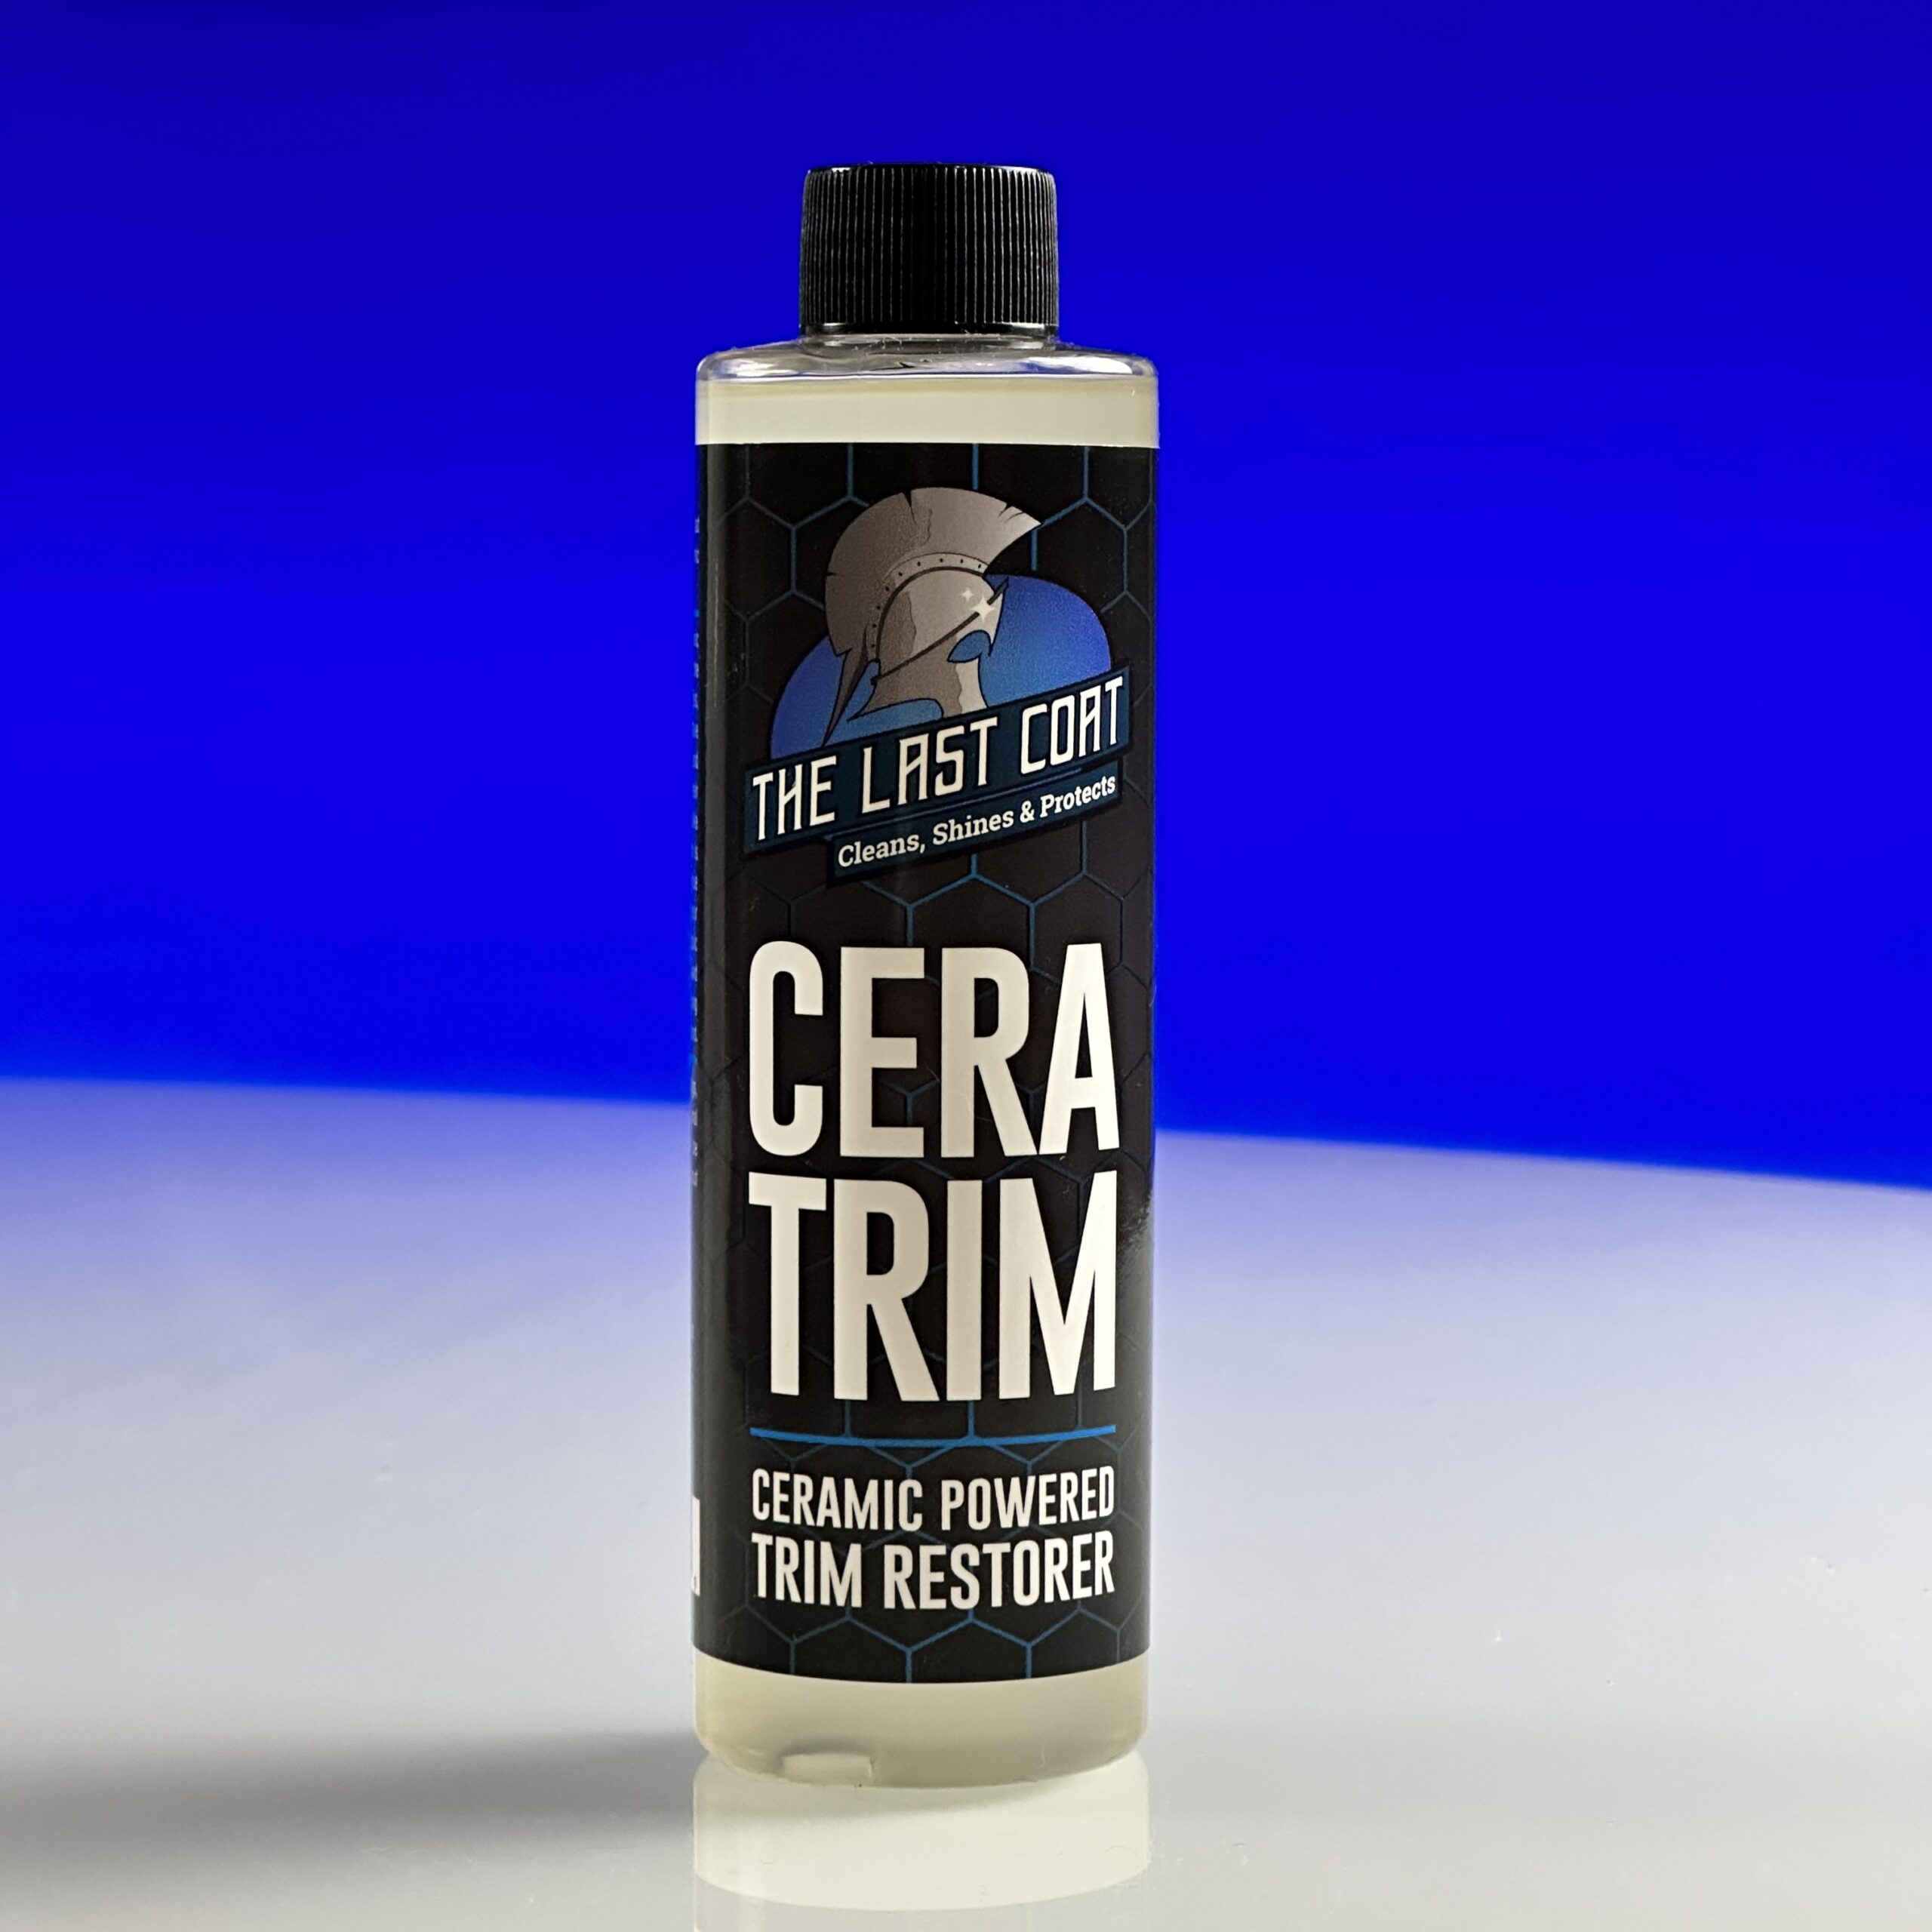
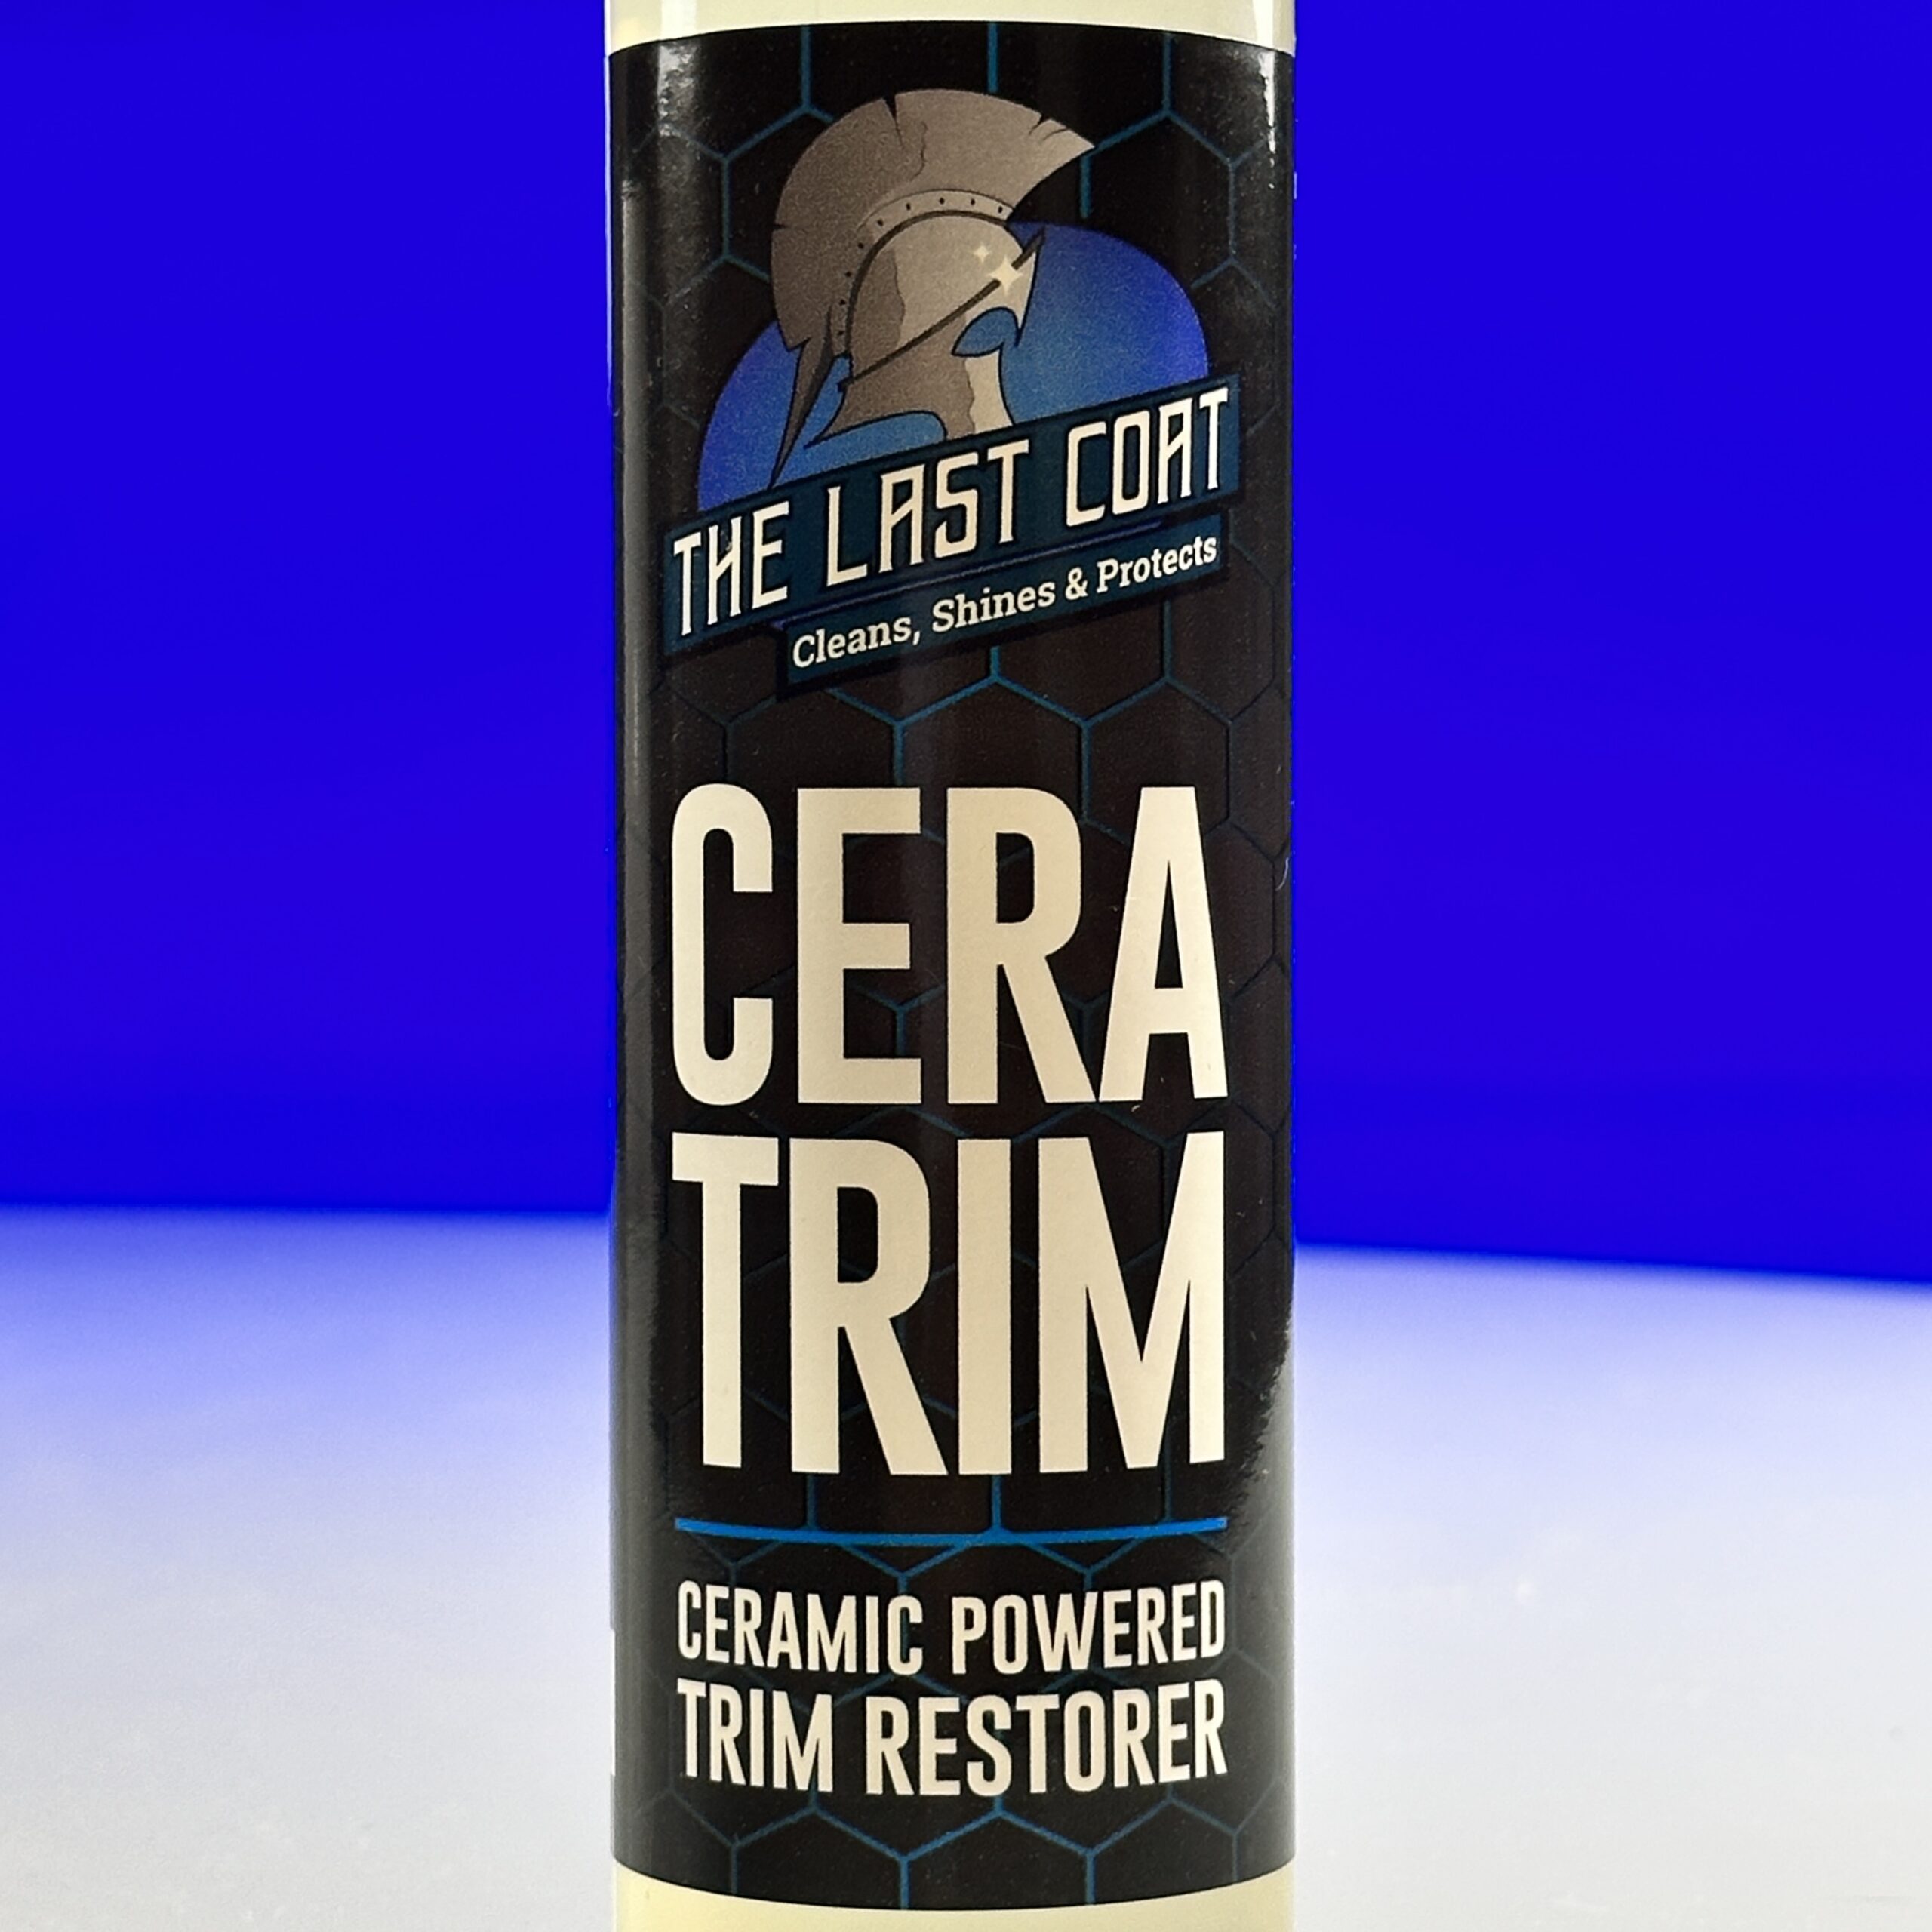
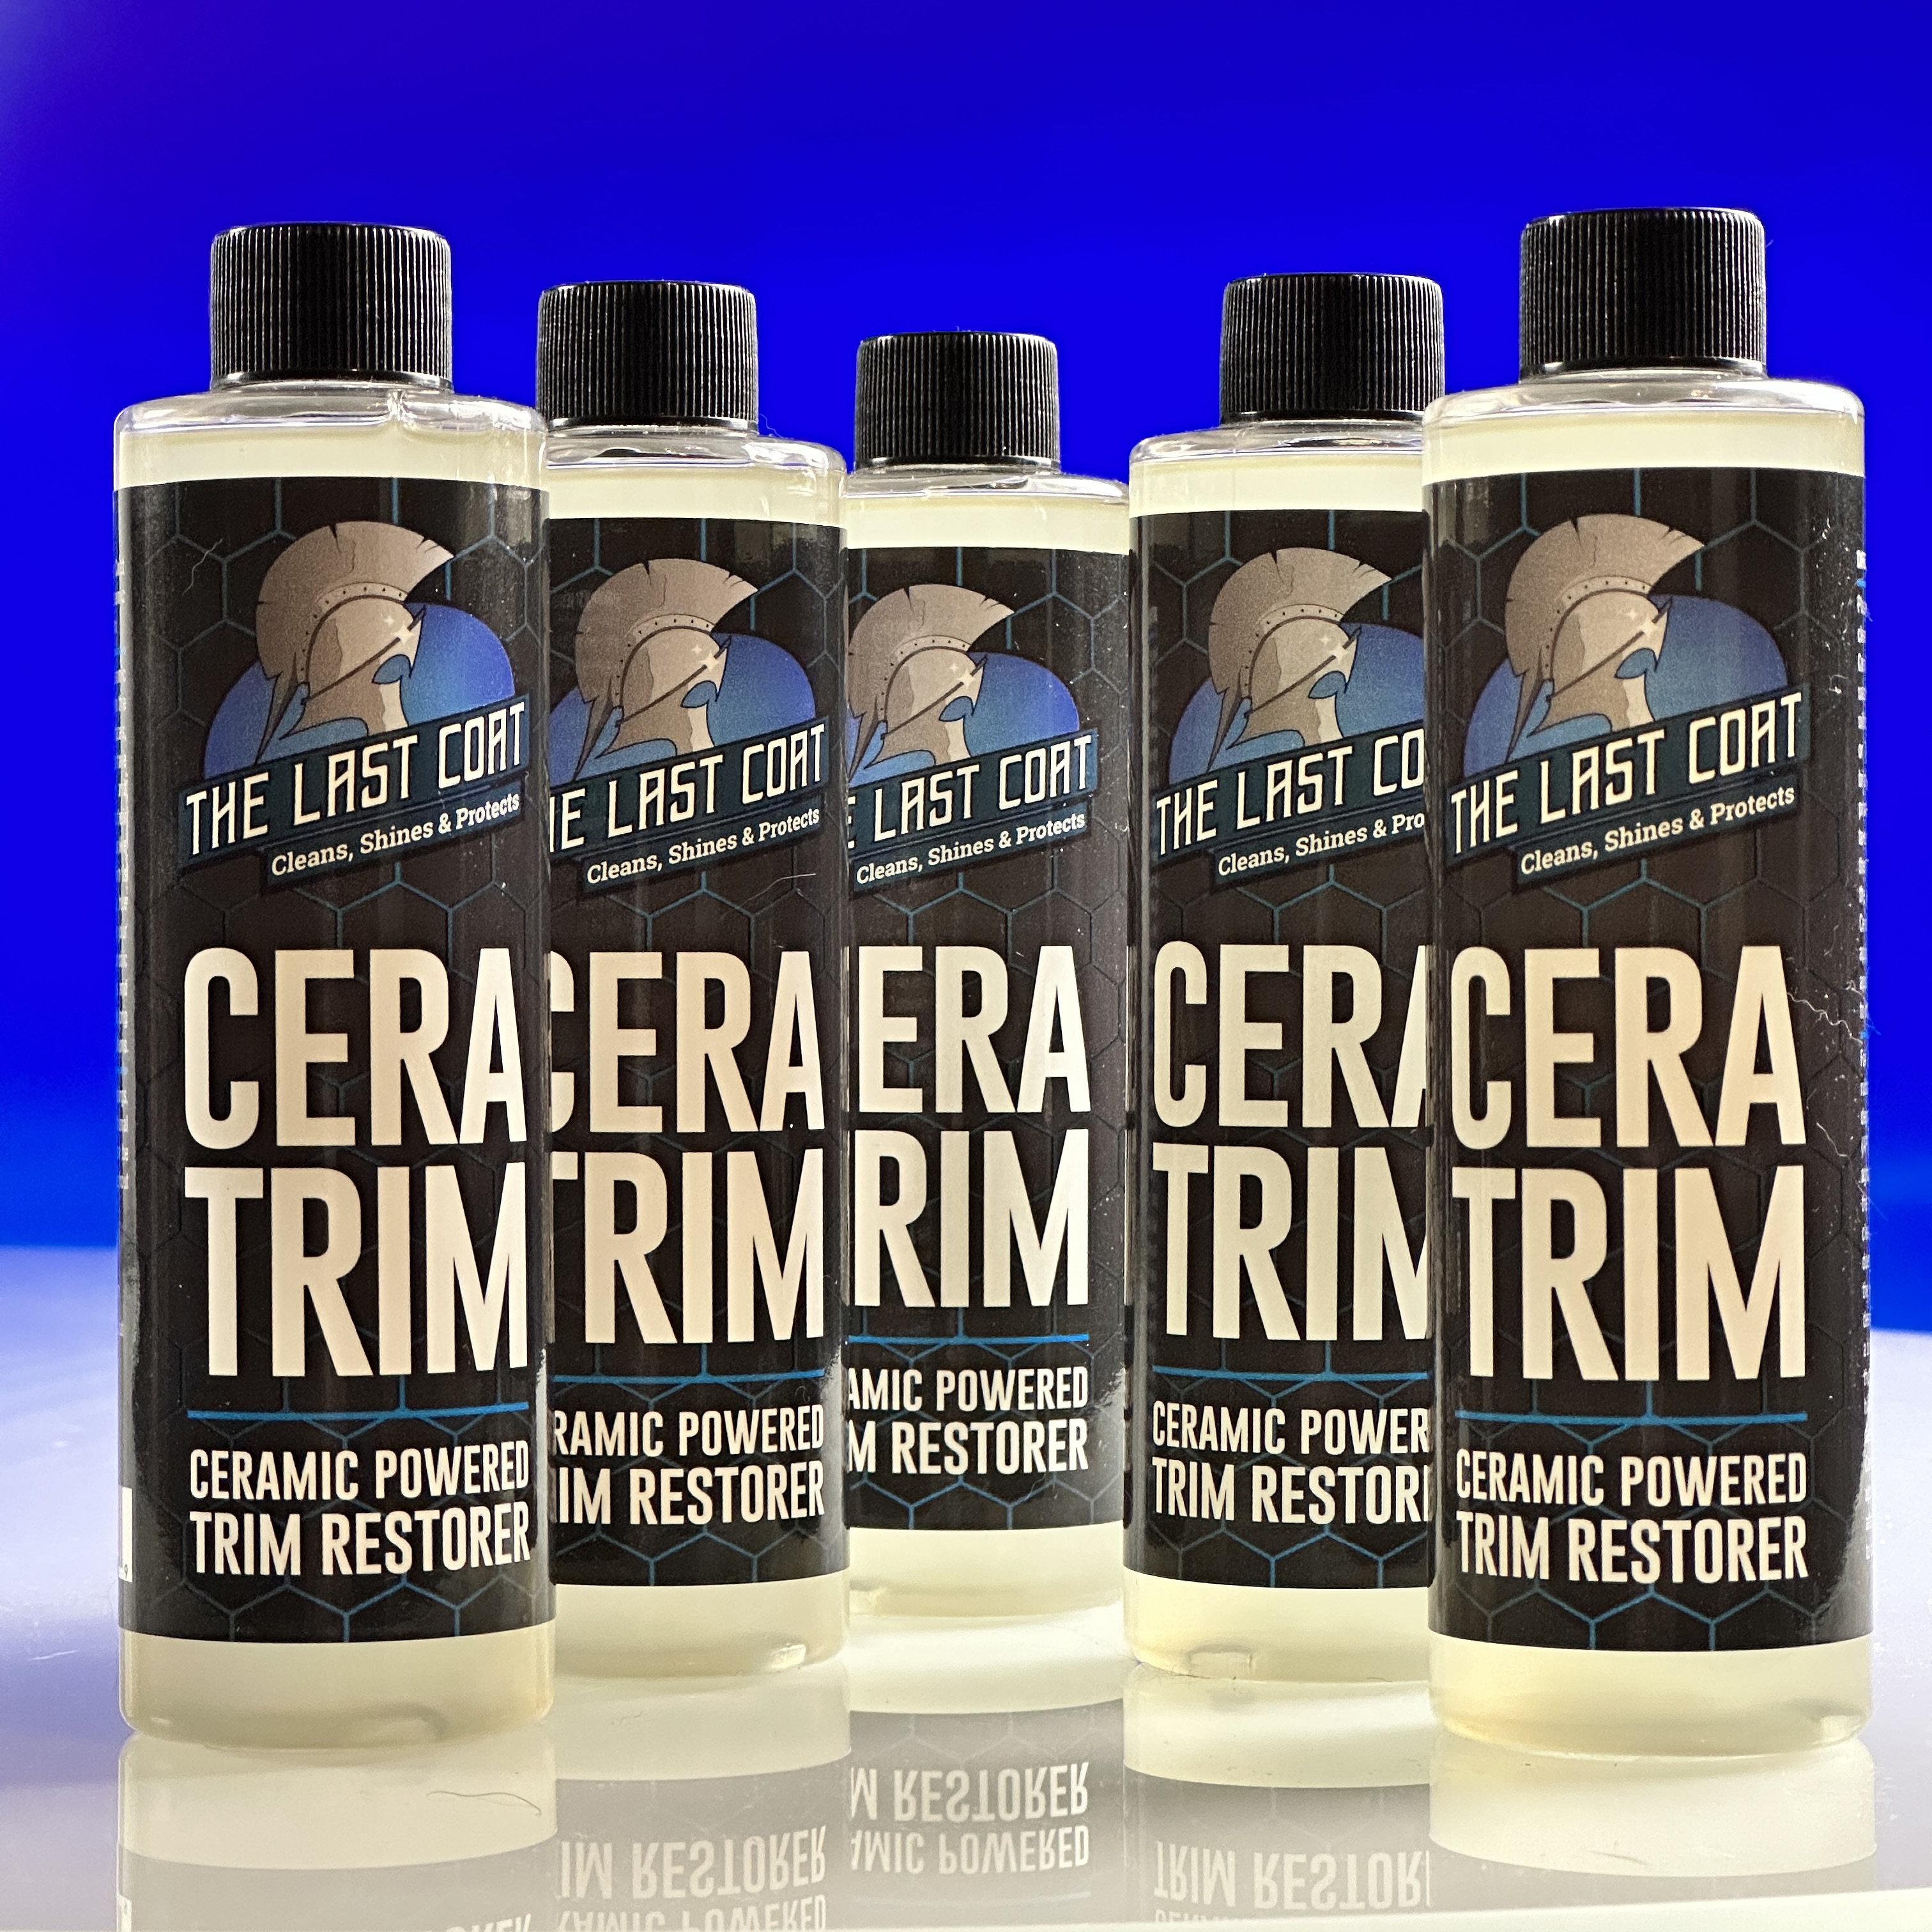
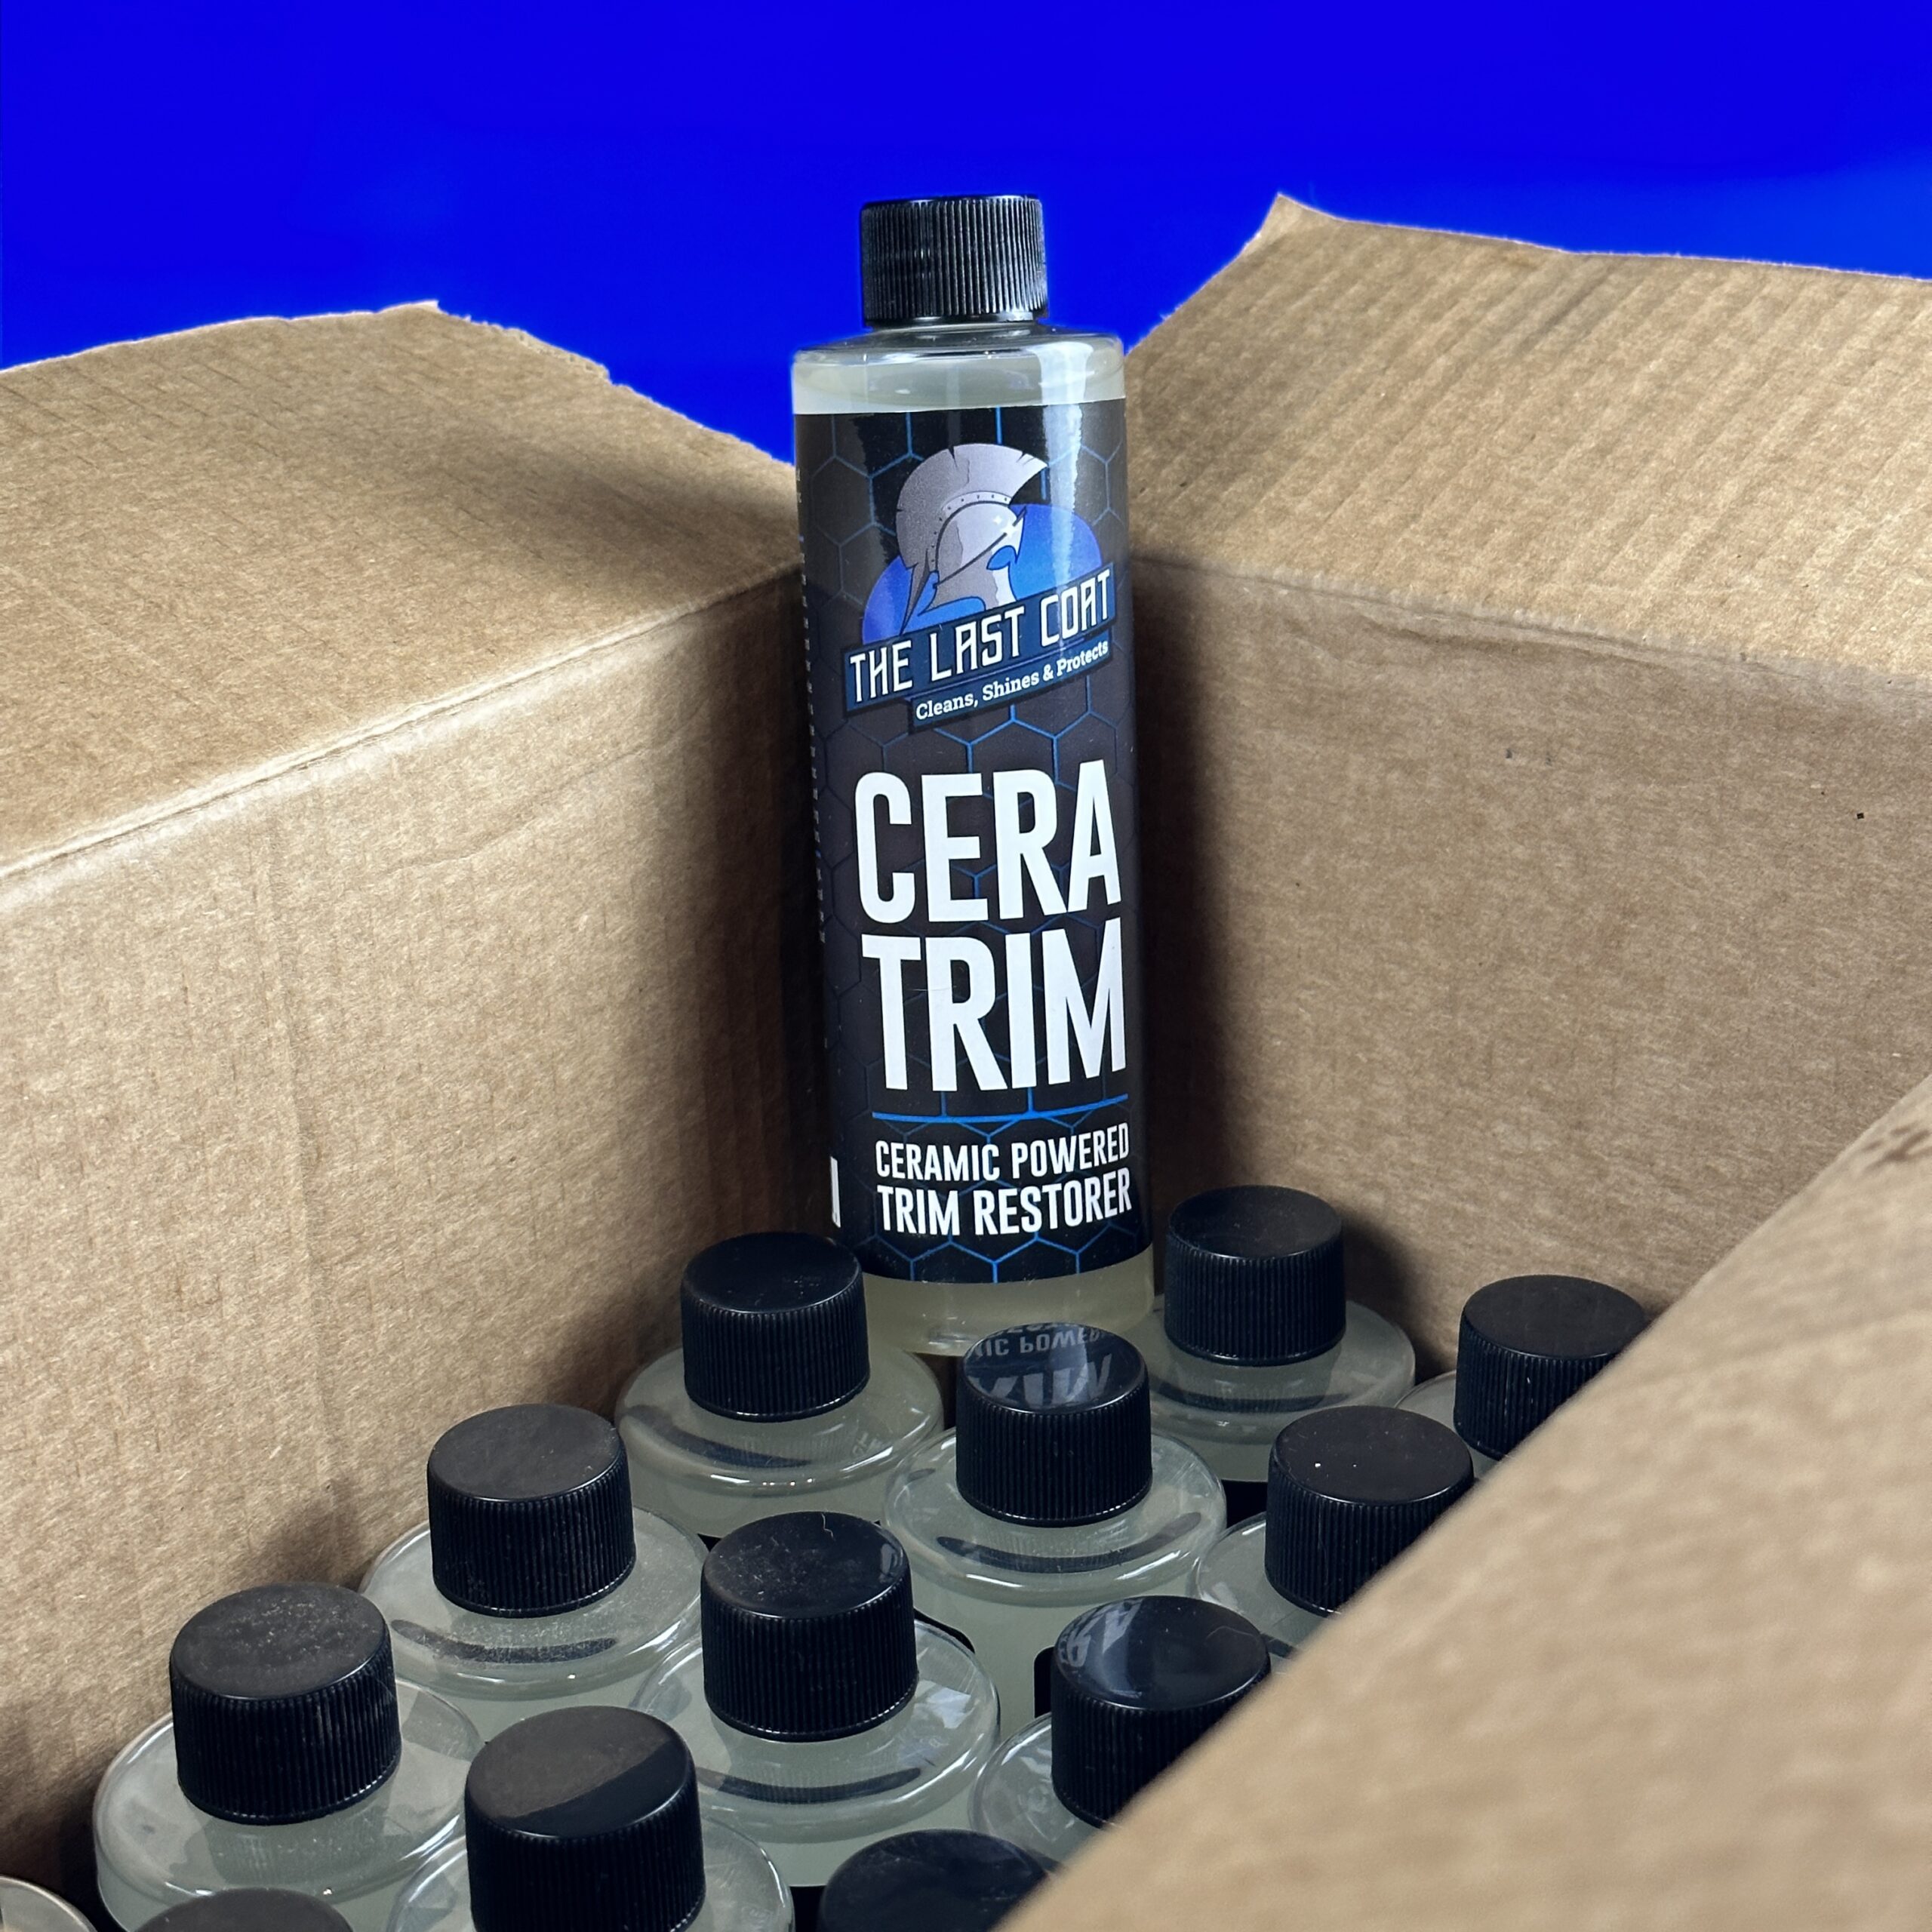
Restoring Plastic Trim with The Last Coat CeraTrim Ceramic Treatment
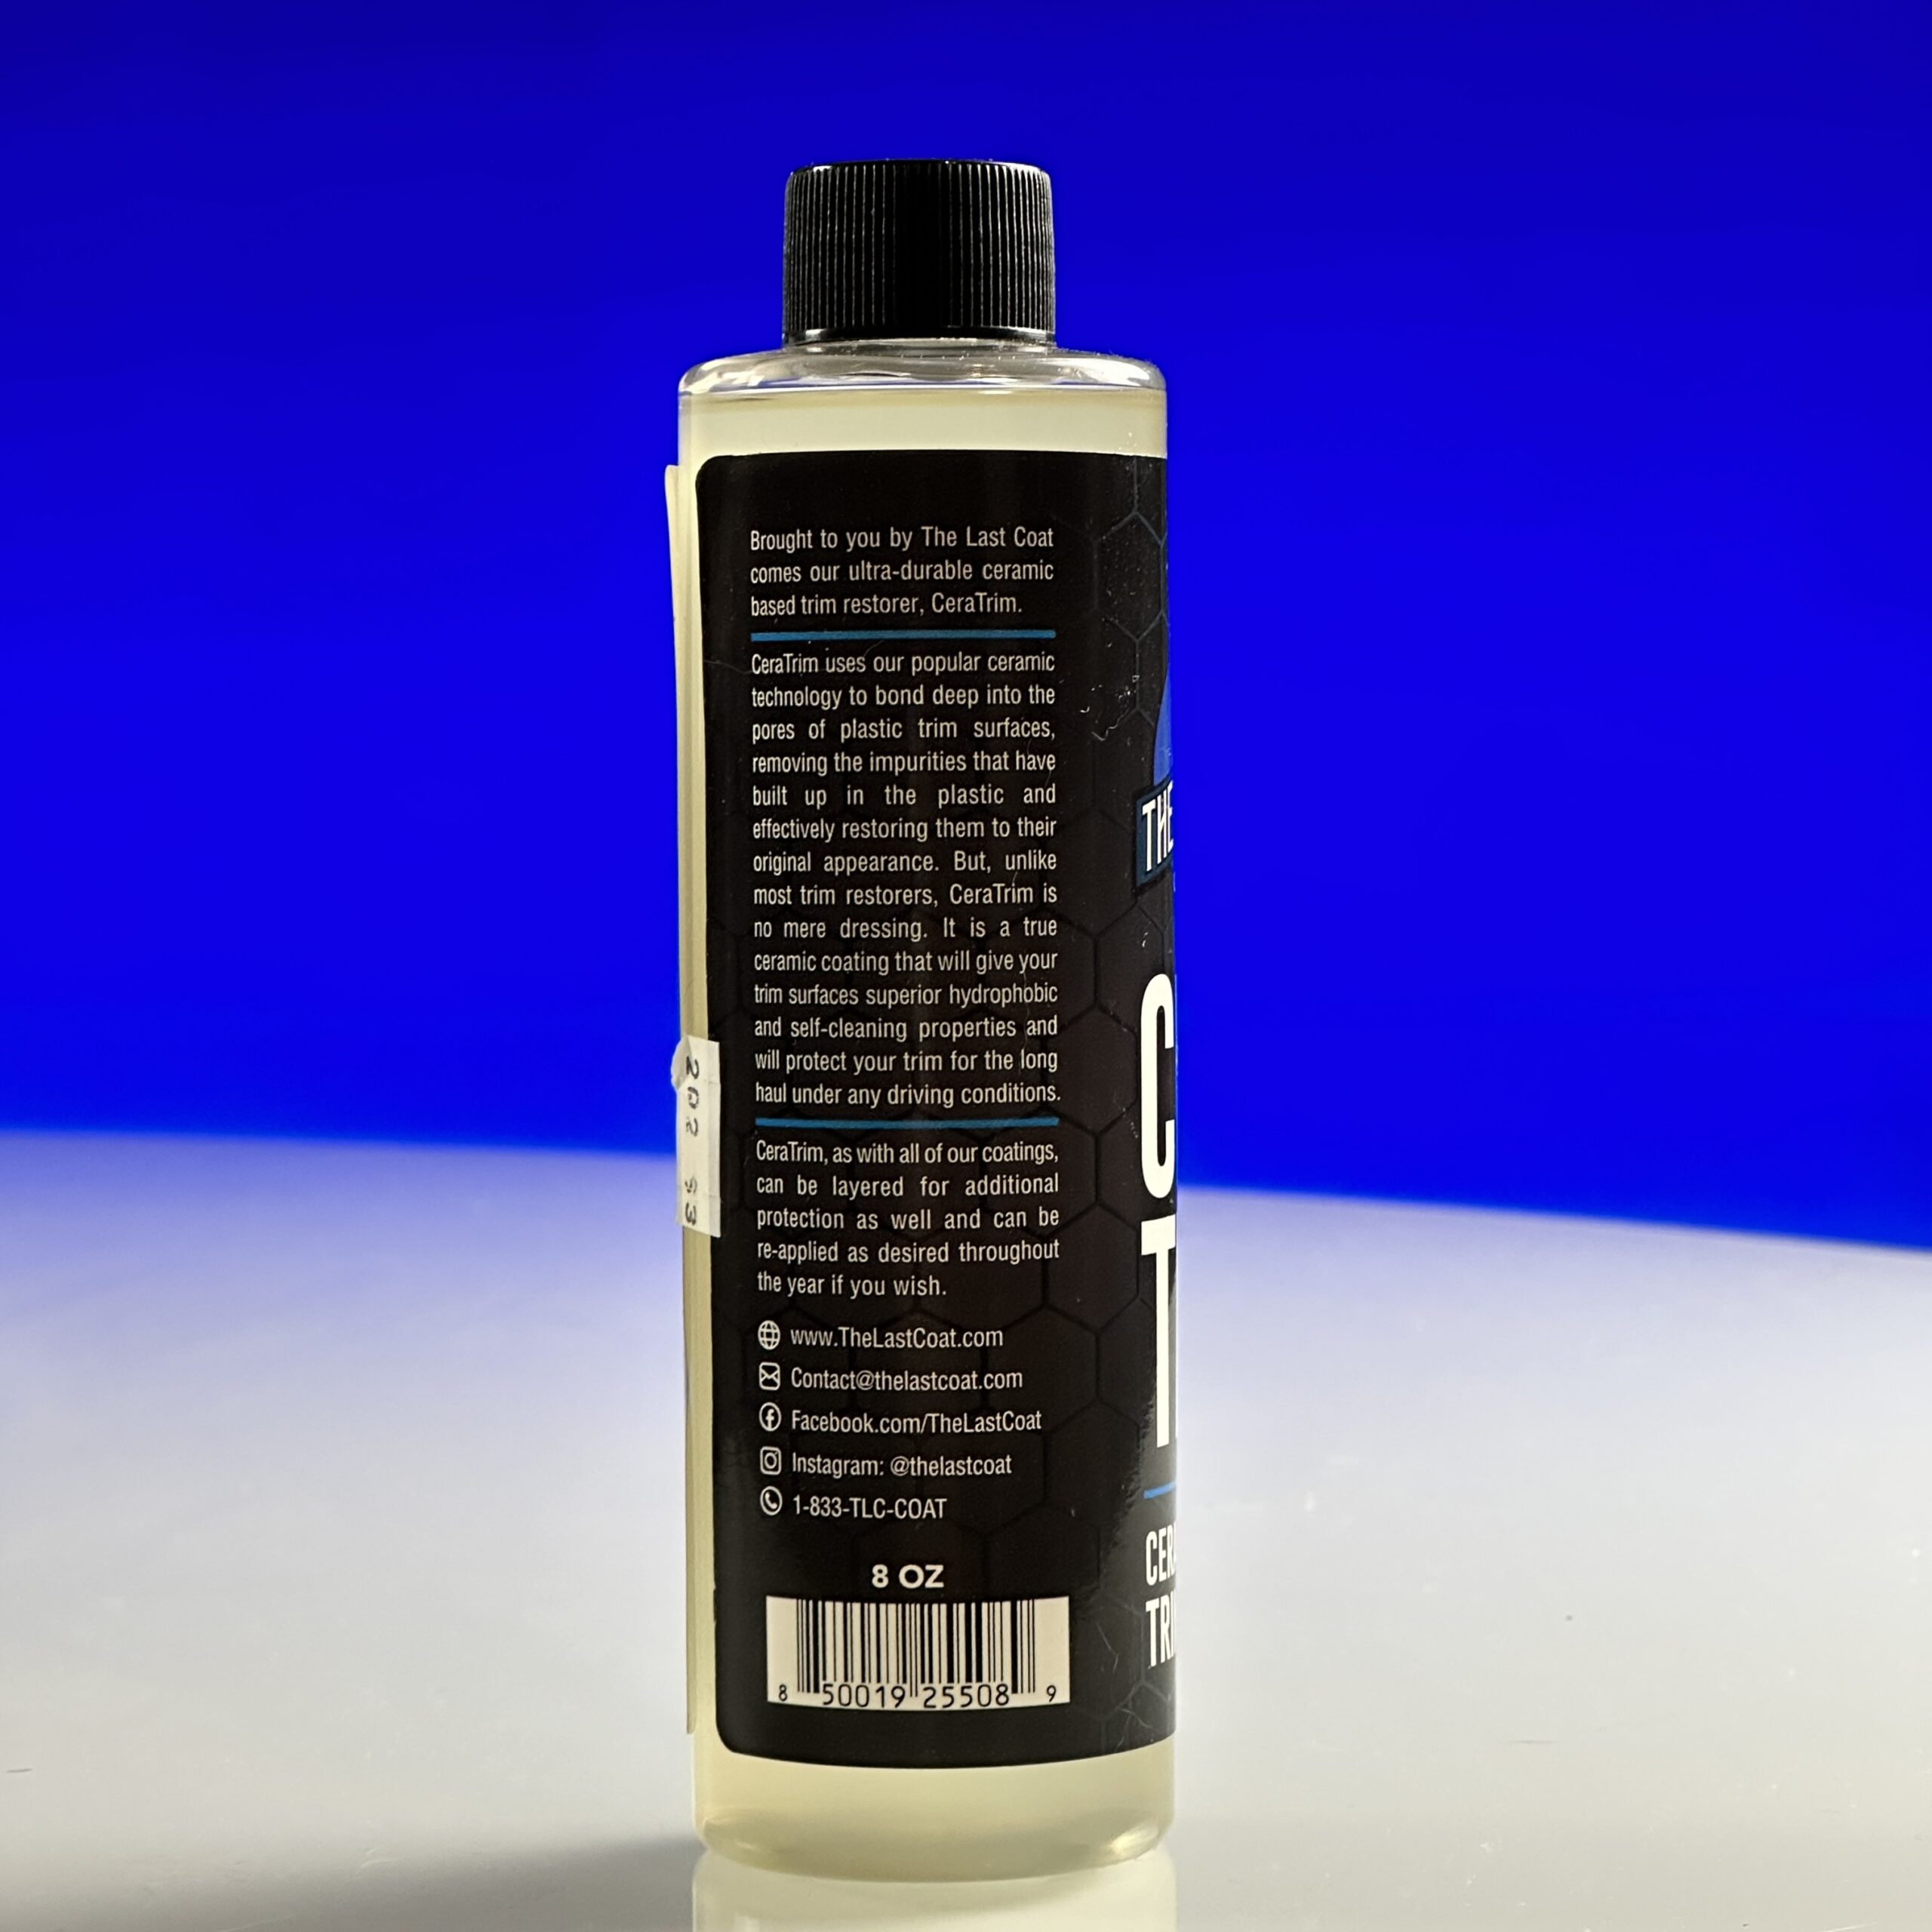
Rediscover the original beauty of your plastic trim surfaces with The Last Coat CeraTrim Ceramic Treatment. This innovative solution utilizes advanced ceramic technology to penetrate deeply into plastic trim, rejuvenating its appearance and providing lasting protection. In this tutorial, we’ll guide you through the process of applying CeraTrim for remarkable results.
Materials You’ll Need:
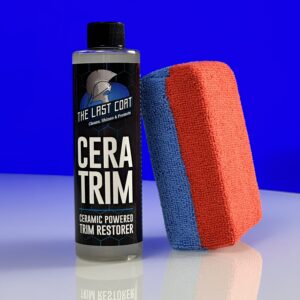
- The Last Coat CeraTrim Ceramic Treatment
- Basic vehicle soap (no wax-based soaps)
- Degreaser or All-Purpose Cleaner (APC)
- Soft bristle brush
- Microfiber towels
- Water (for rinsing)
Step-by-Step Guide:
Step 1: Preparing the Surface
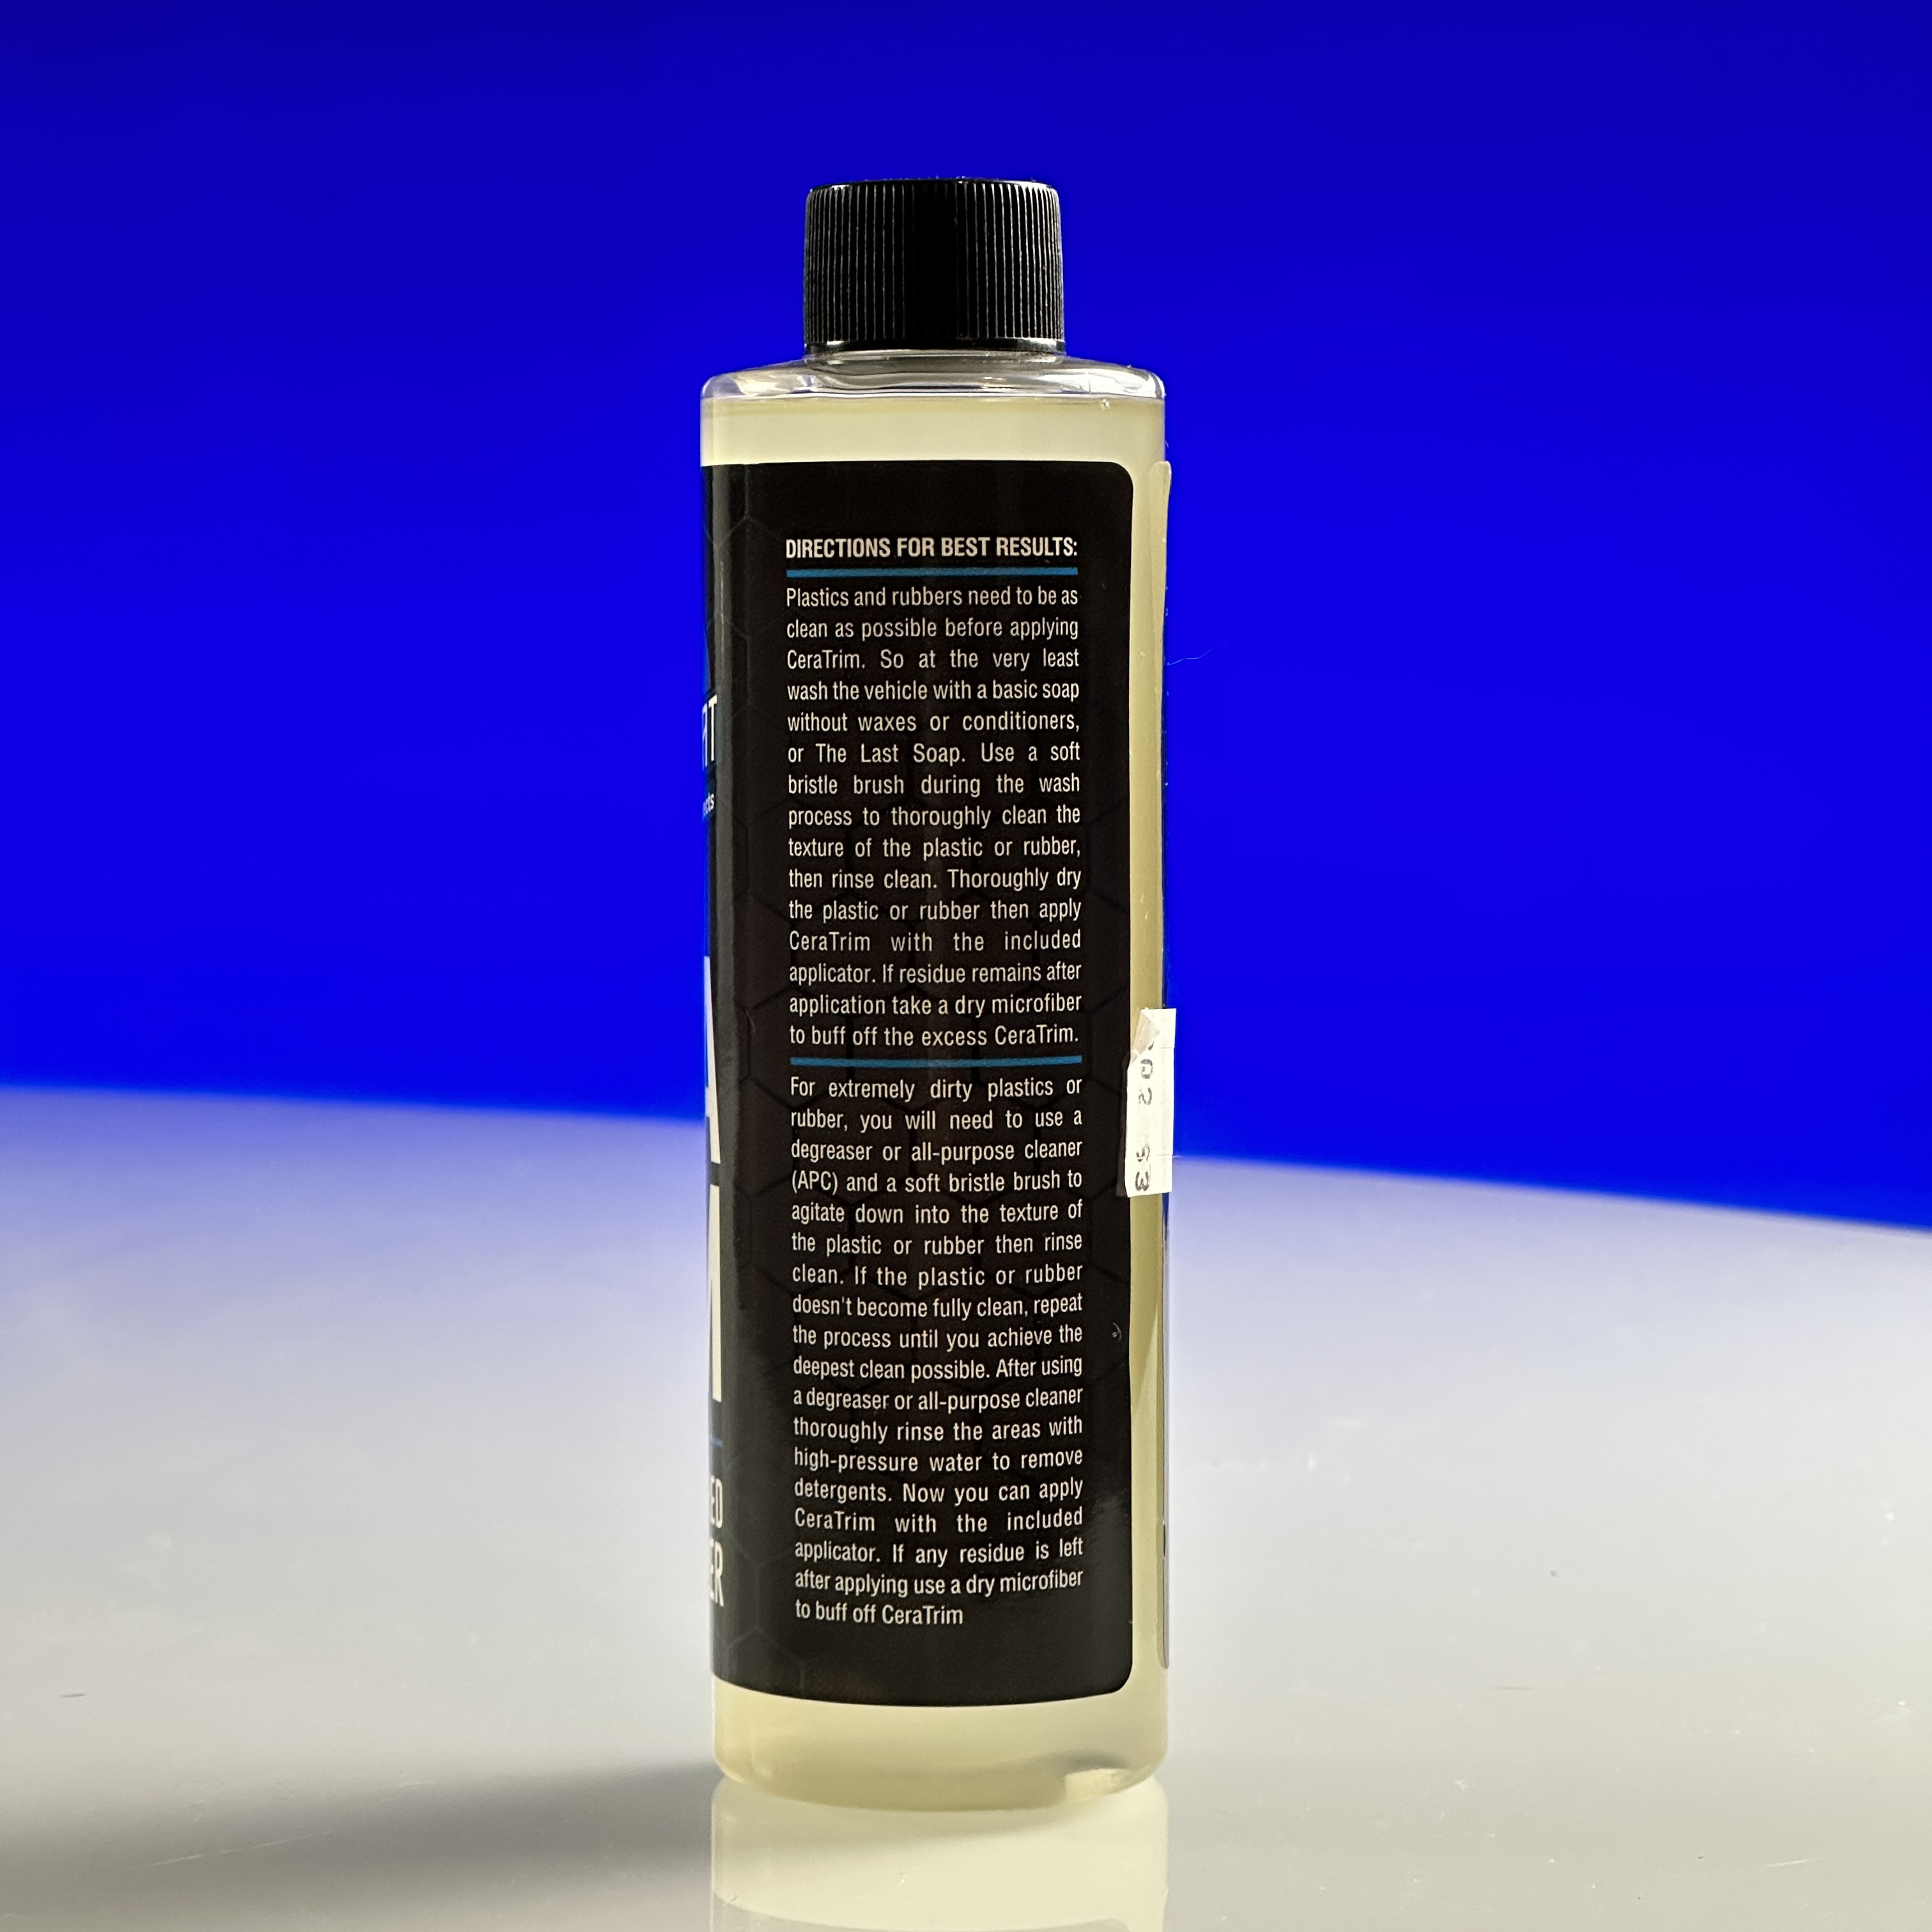
- Ensure the plastic or rubber trim surfaces are as clean as possible before applying CeraTrim. Remove any prior dressings that could affect the bonding process.
- Use a basic vehicle soap to wash the trim, avoiding wax-based soaps. Additionally, use a degreaser or APC and a soft bristle brush to agitate into the texture of the plastic or rubber, ensuring a deep cleanse.
Step 2: Thorough Rinsing
- With high-pressure water, thoroughly rinse the trim area to completely remove any soaps or detergents used in the cleaning process.
Step 3: Deep Cleaning (if necessary)
- If the plastic or rubber trim isn’t fully clean and bare after rinsing, repeat the cleaning process until you achieve the deepest level of cleanliness.
Step 4: Applying CeraTrim
- Ensure the plastic or rubber trim is thoroughly dry before applying CeraTrim.
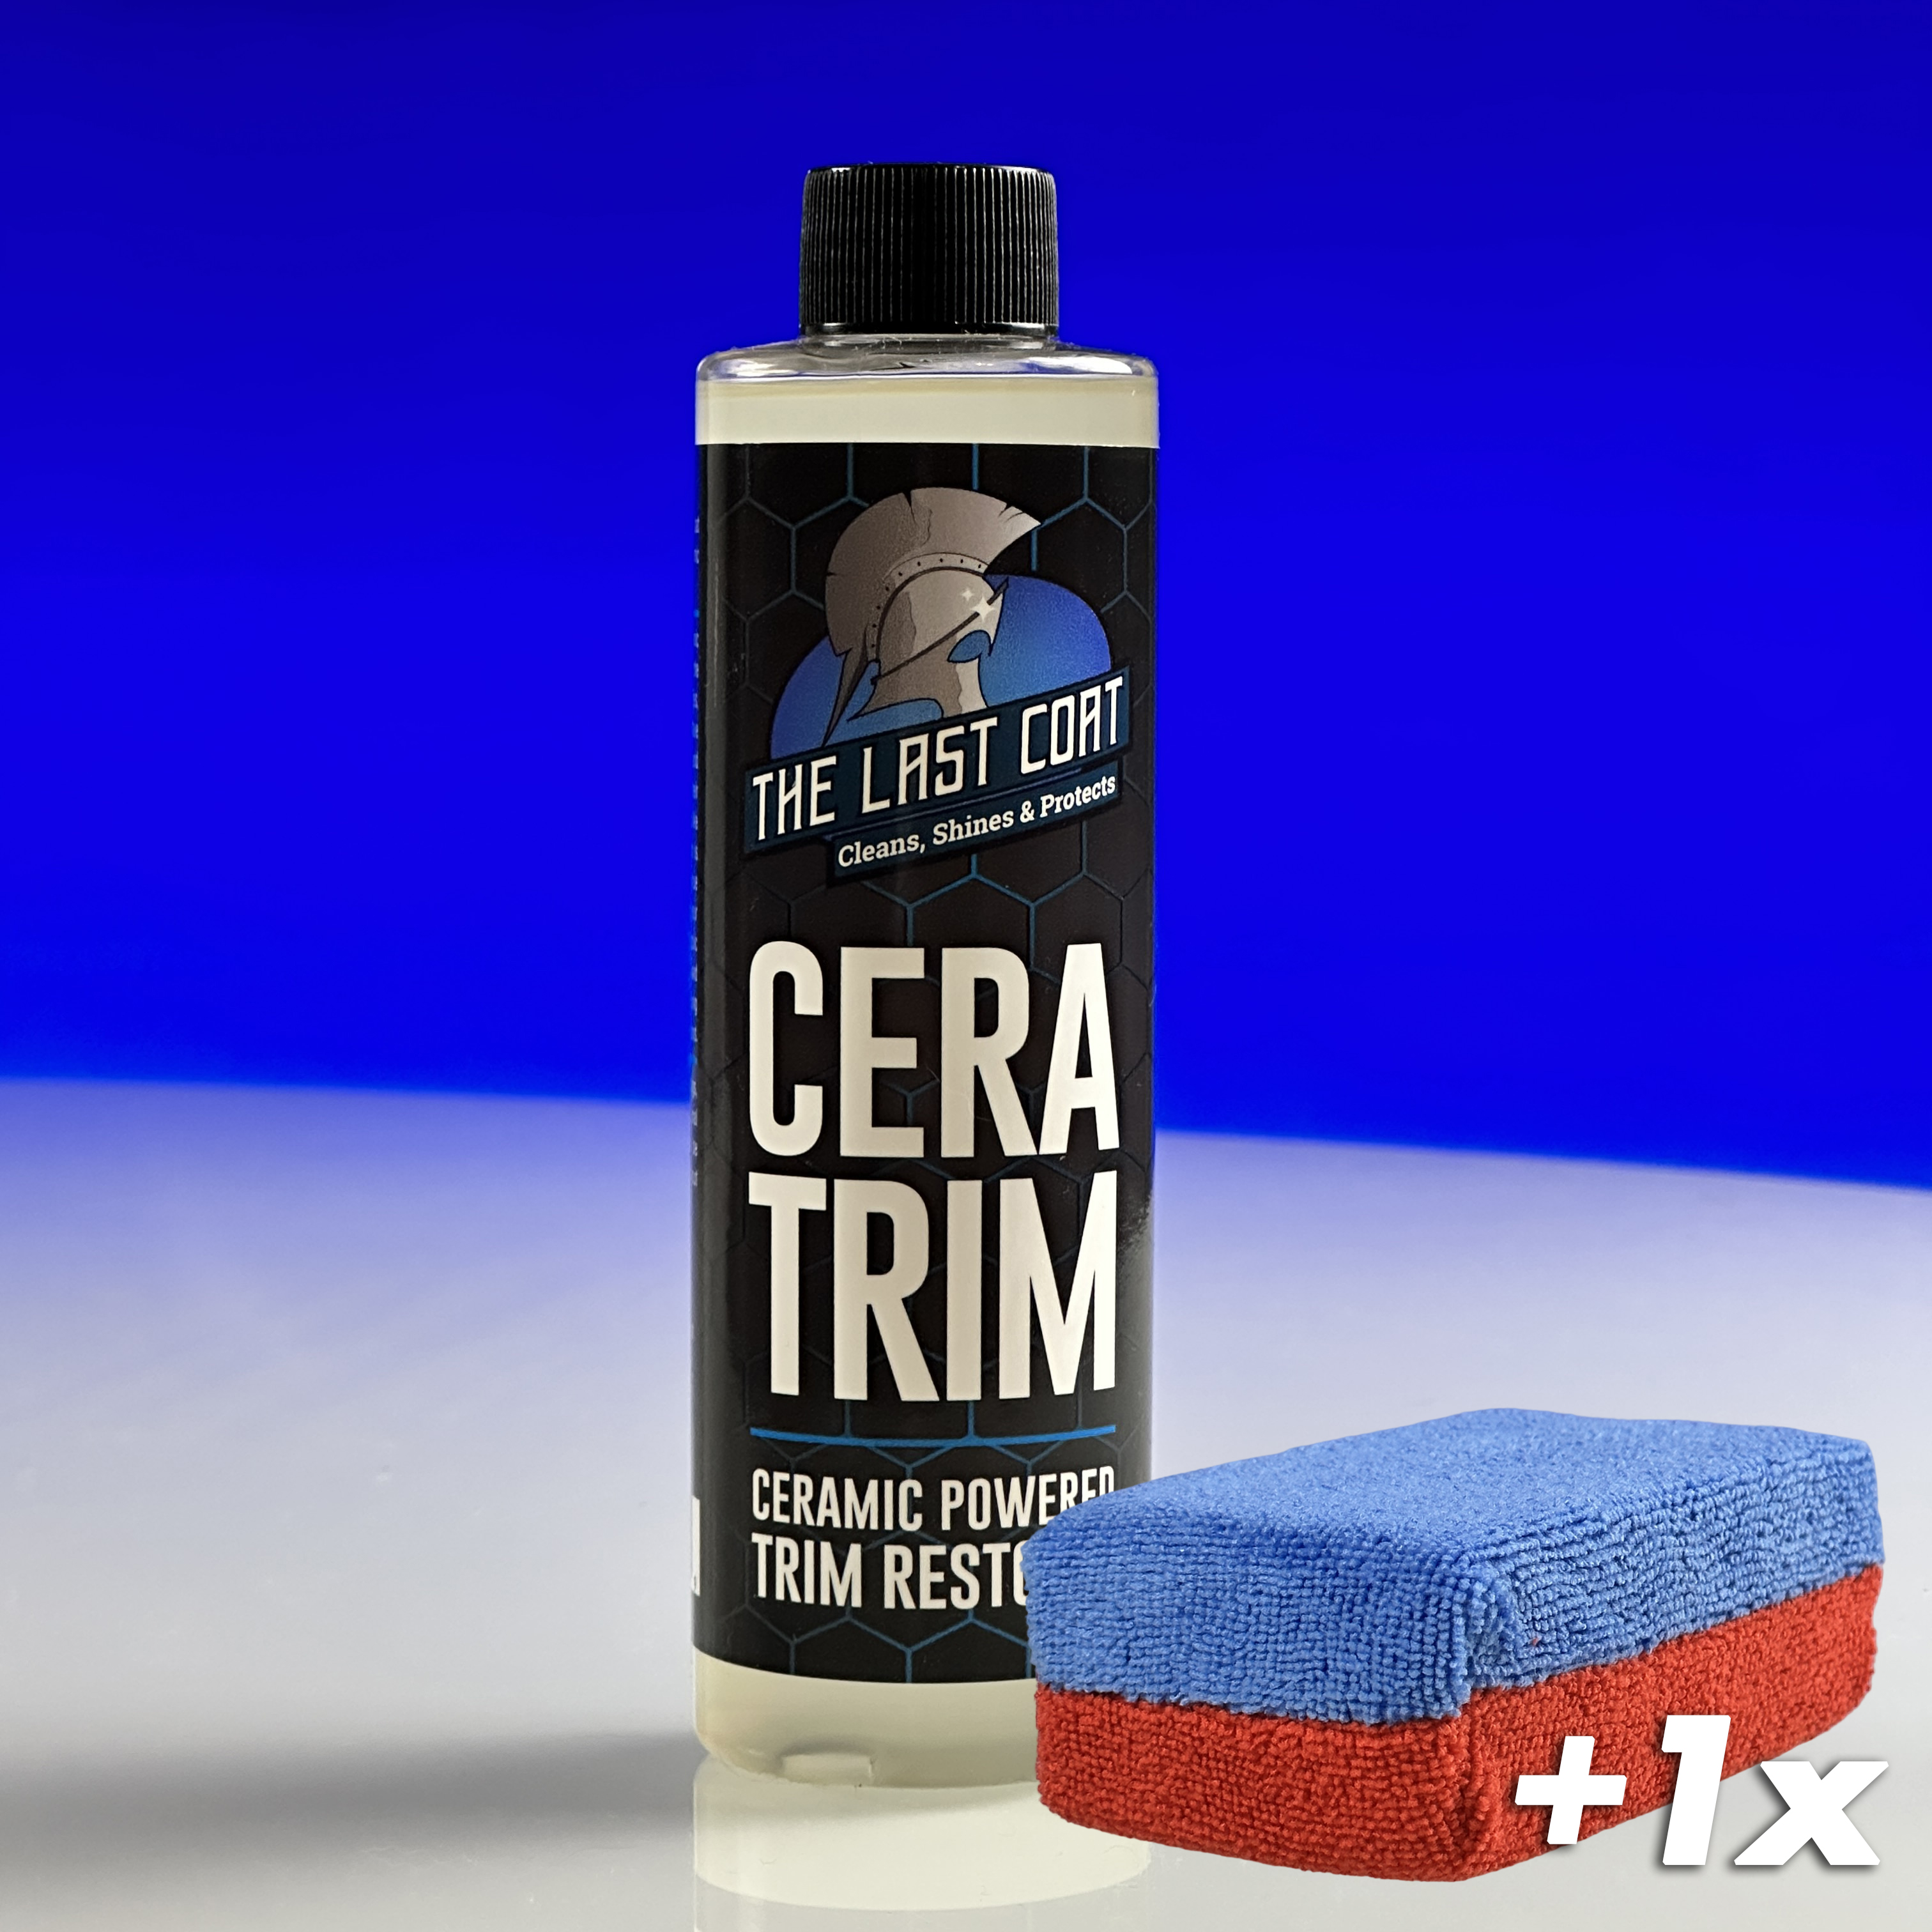
- Apply CeraTrim onto the included applicator.
- Gently apply CeraTrim to the trim surface, ensuring even coverage.
Step 5: Dwell Time
- Allow CeraTrim to dwell on the surface for 5-20 minutes, depending on the level of fading or discoloration.
Step 6: Buffing Off Excess Residue
- After the dwell period, use a dry microfiber towel to gently buff the trim surface. This step removes any excess residue sitting on top, ensuring a clean finish.
Important Notes:
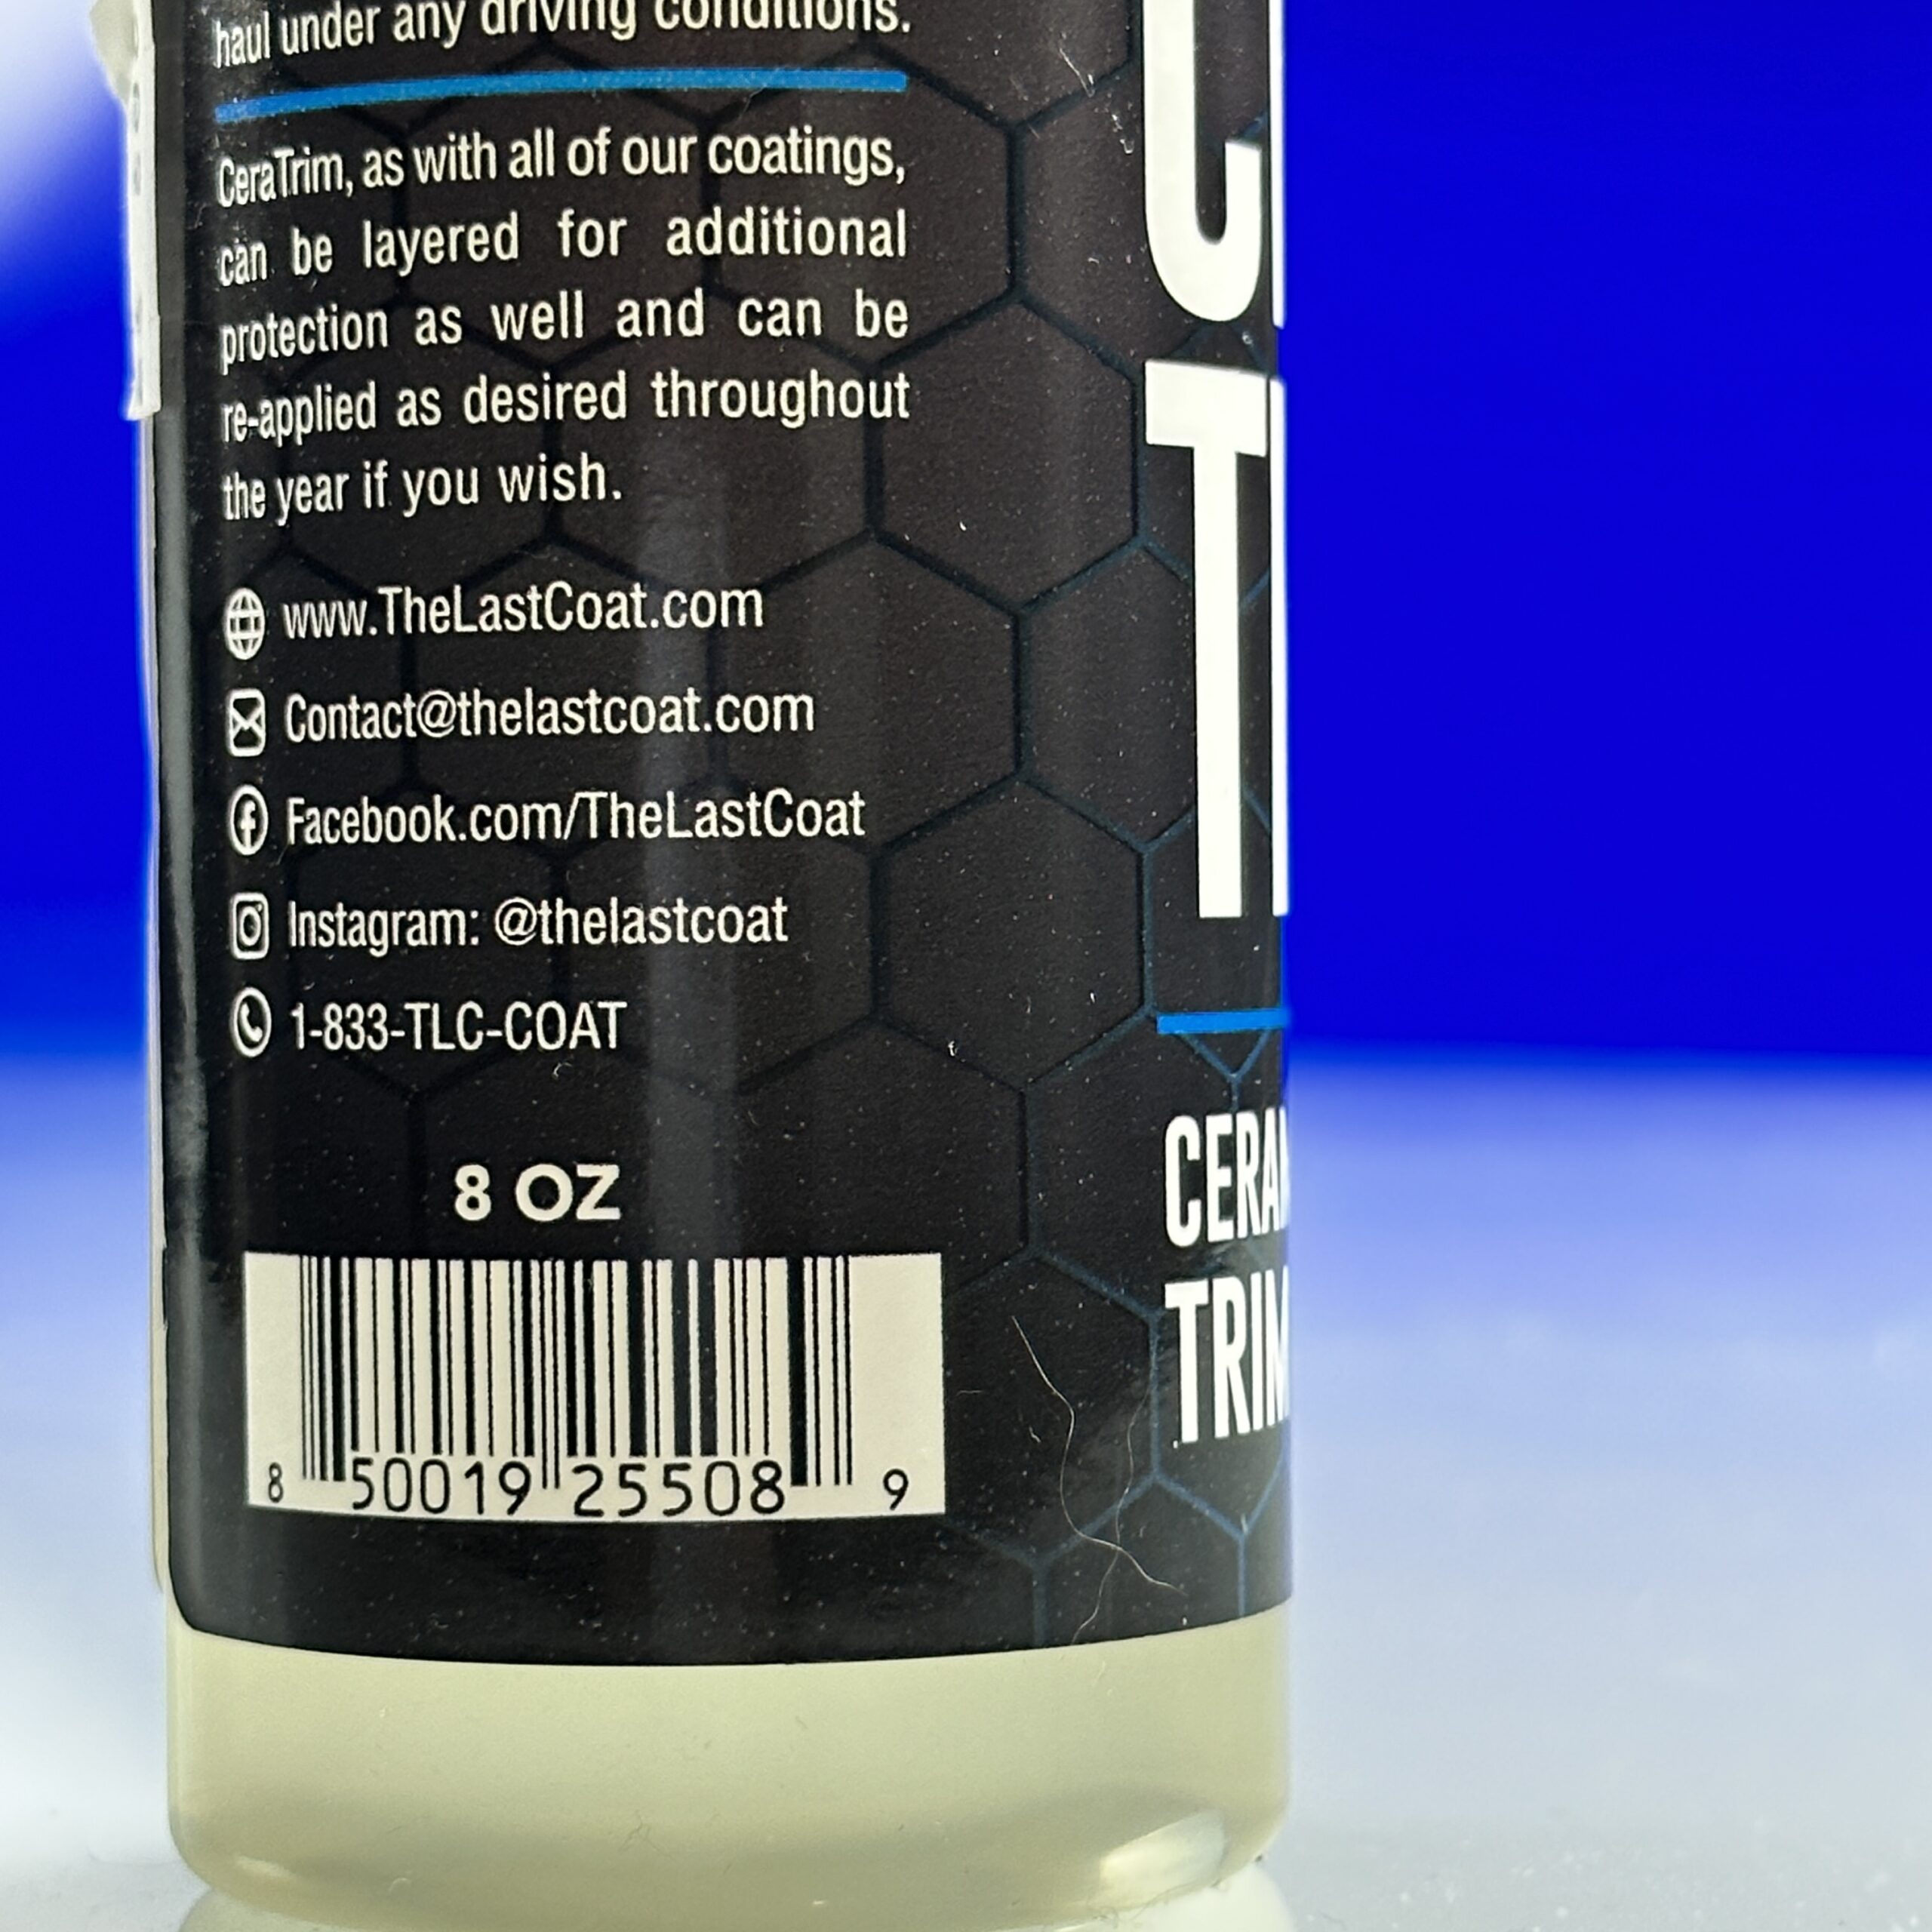
The full cure time for CeraTrim is 24 hours. Avoid getting the treated surfaces wet within the first 24 hours after application.
Be cautious of slipperiness on treated surfaces when wet, especially on running boards.
By following these steps, you can effectively utilize The Last Coat CeraTrim Ceramic Treatment to restore and protect plastic and rubber trim surfaces. The innovative ceramic technology ensures that your trim not only regains its original appearance but also benefits from lasting protection against the elements. Embrace the power of CeraTrim to enhance the aesthetics and longevity of your vehicle’s trim.